
Introduction to Bookbinding
Are you lost? Do you want to know where to start?

Hello friends,
Are you new to the wonderful world of making books? Is it a bit overwhelming?
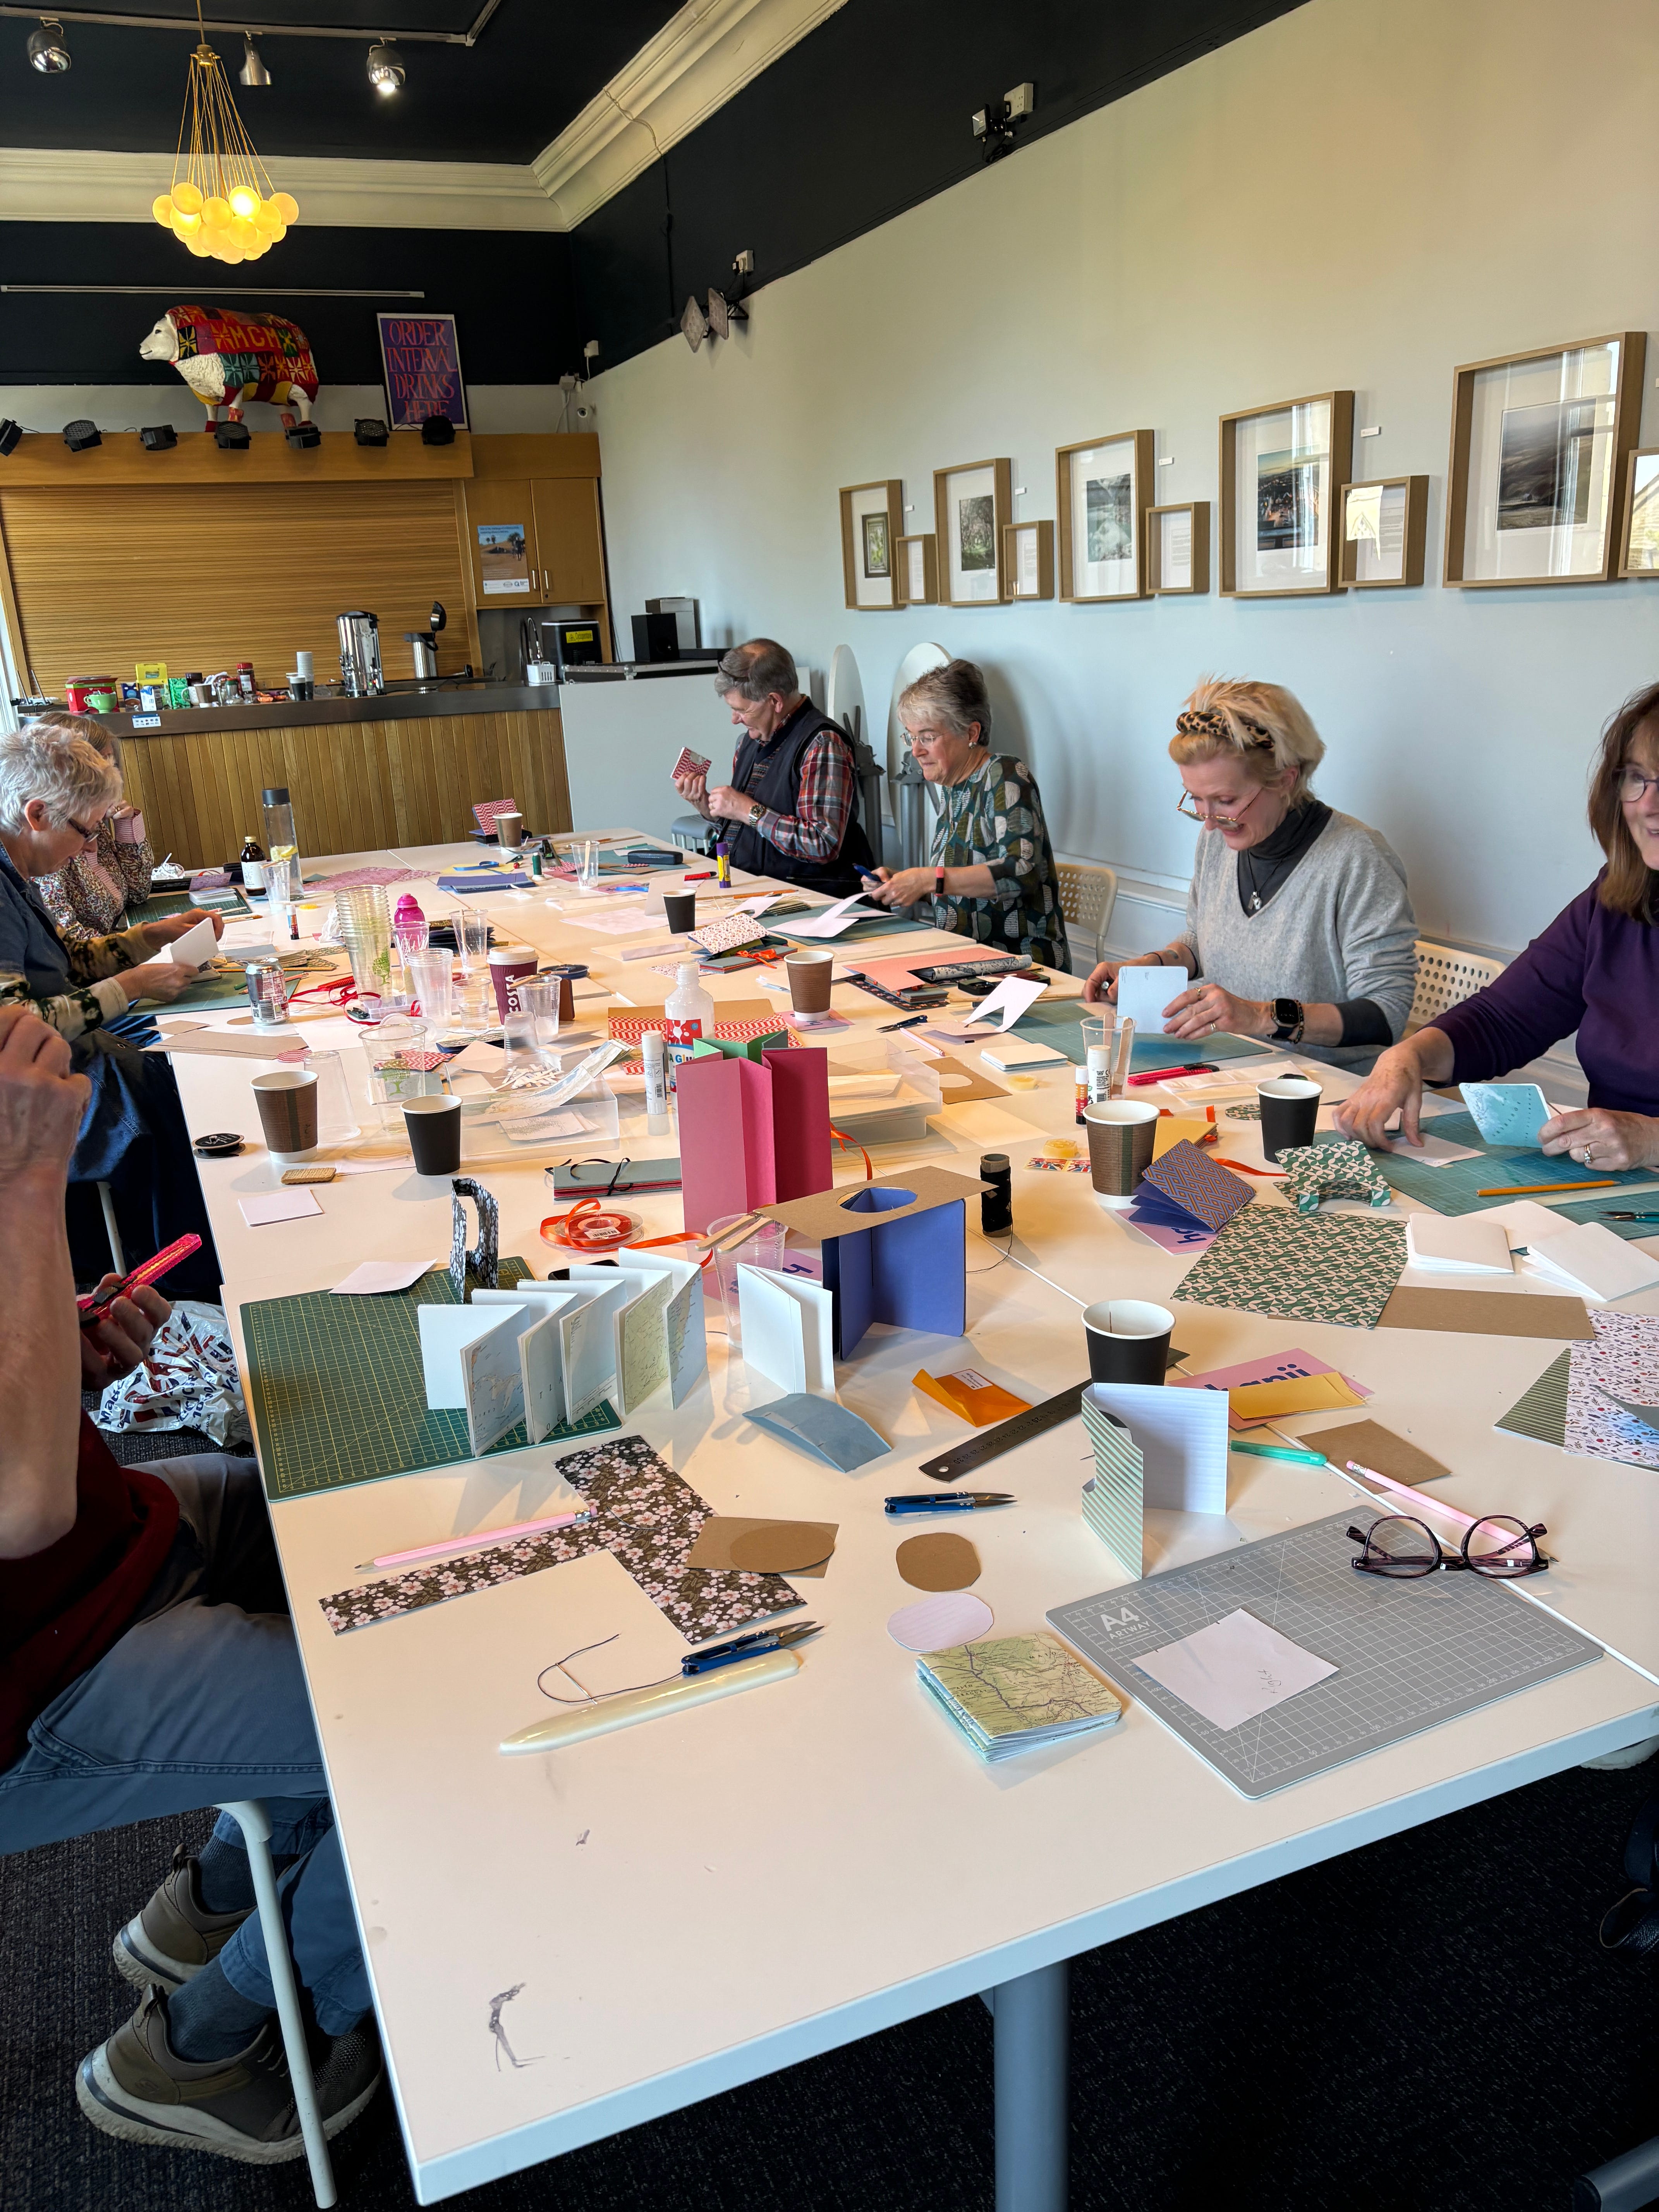
I’m writing to you, fresh out of delivering an Introduction to Bookbinding Workshop at my local arts centre, and it got me thinking about where to begin. So I wanted to write you this letter and help you to get started.
This post is for everyone. If you have joined the paid membership, I’ve got a new tutorial landing this weekend. Exciting! Don’t forget, the annual membership is just £4.50 per month, if you sign up before the end of April!
Tools & Materials
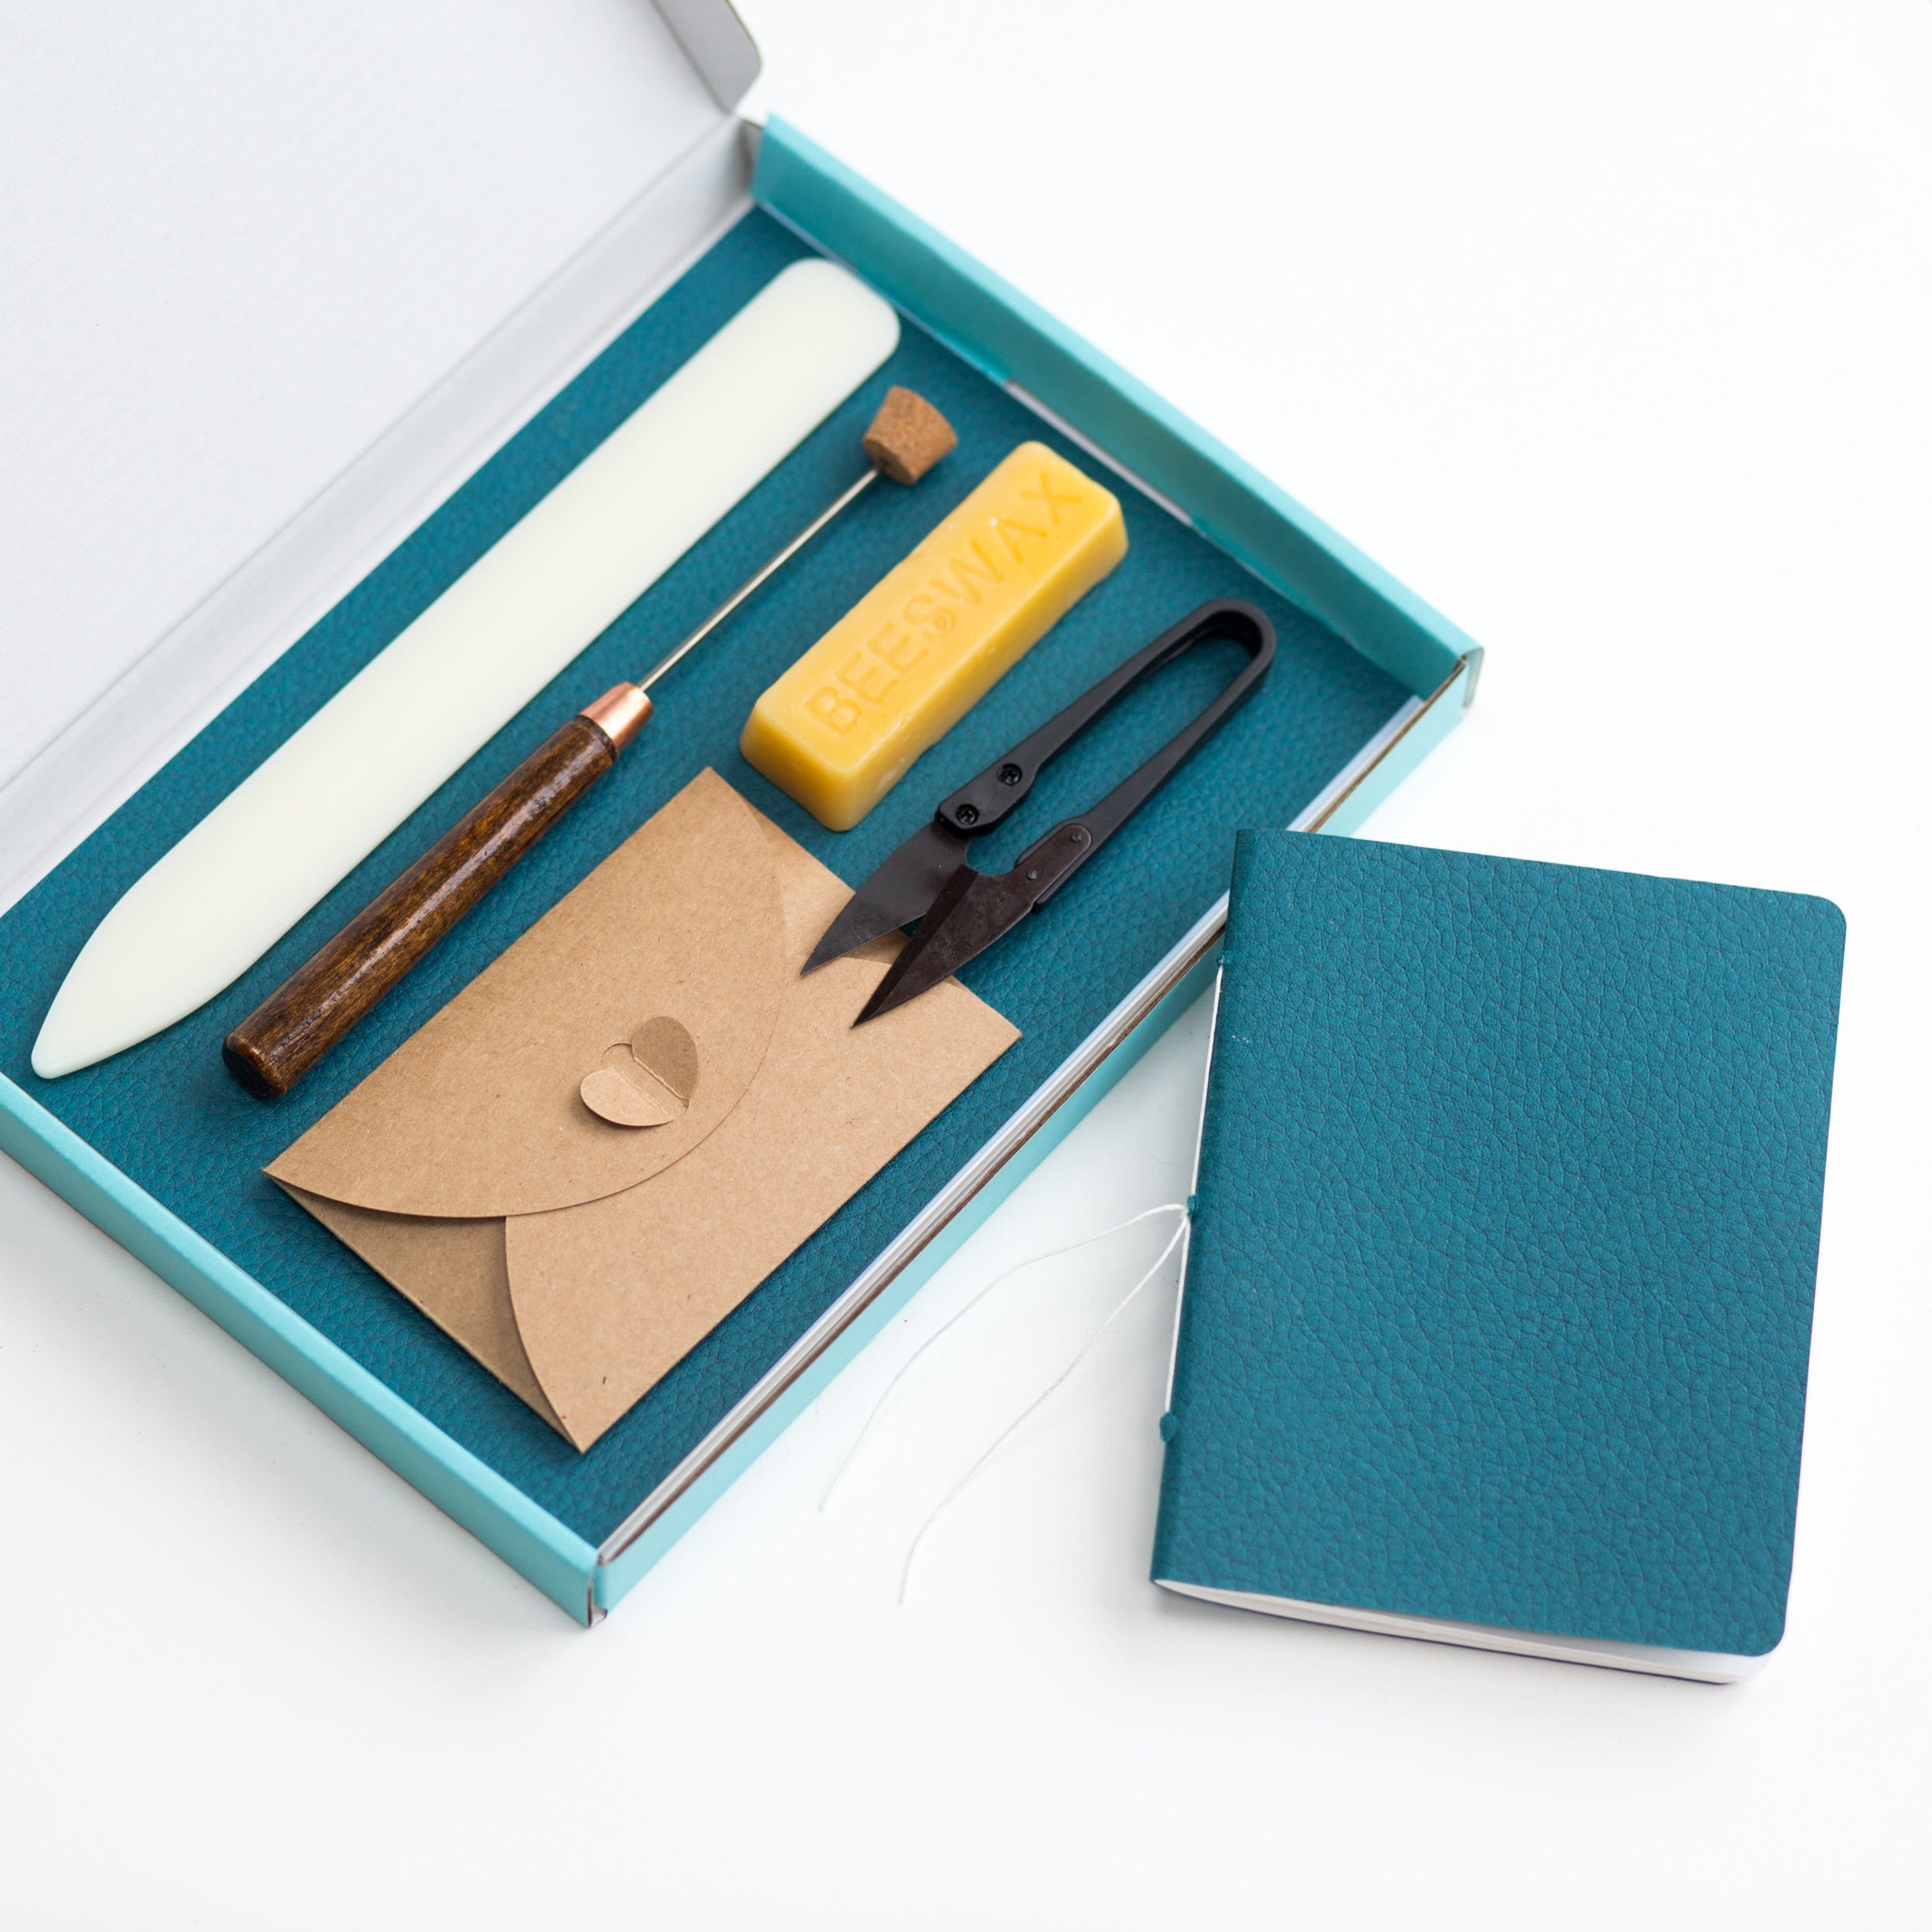
The first thing I always share in my workshops, is a run down of the tools you need. Everything I teach is aimed at making books at home, so it’s hand tools all the way and some inventive ideas to use what you’ve got at home.
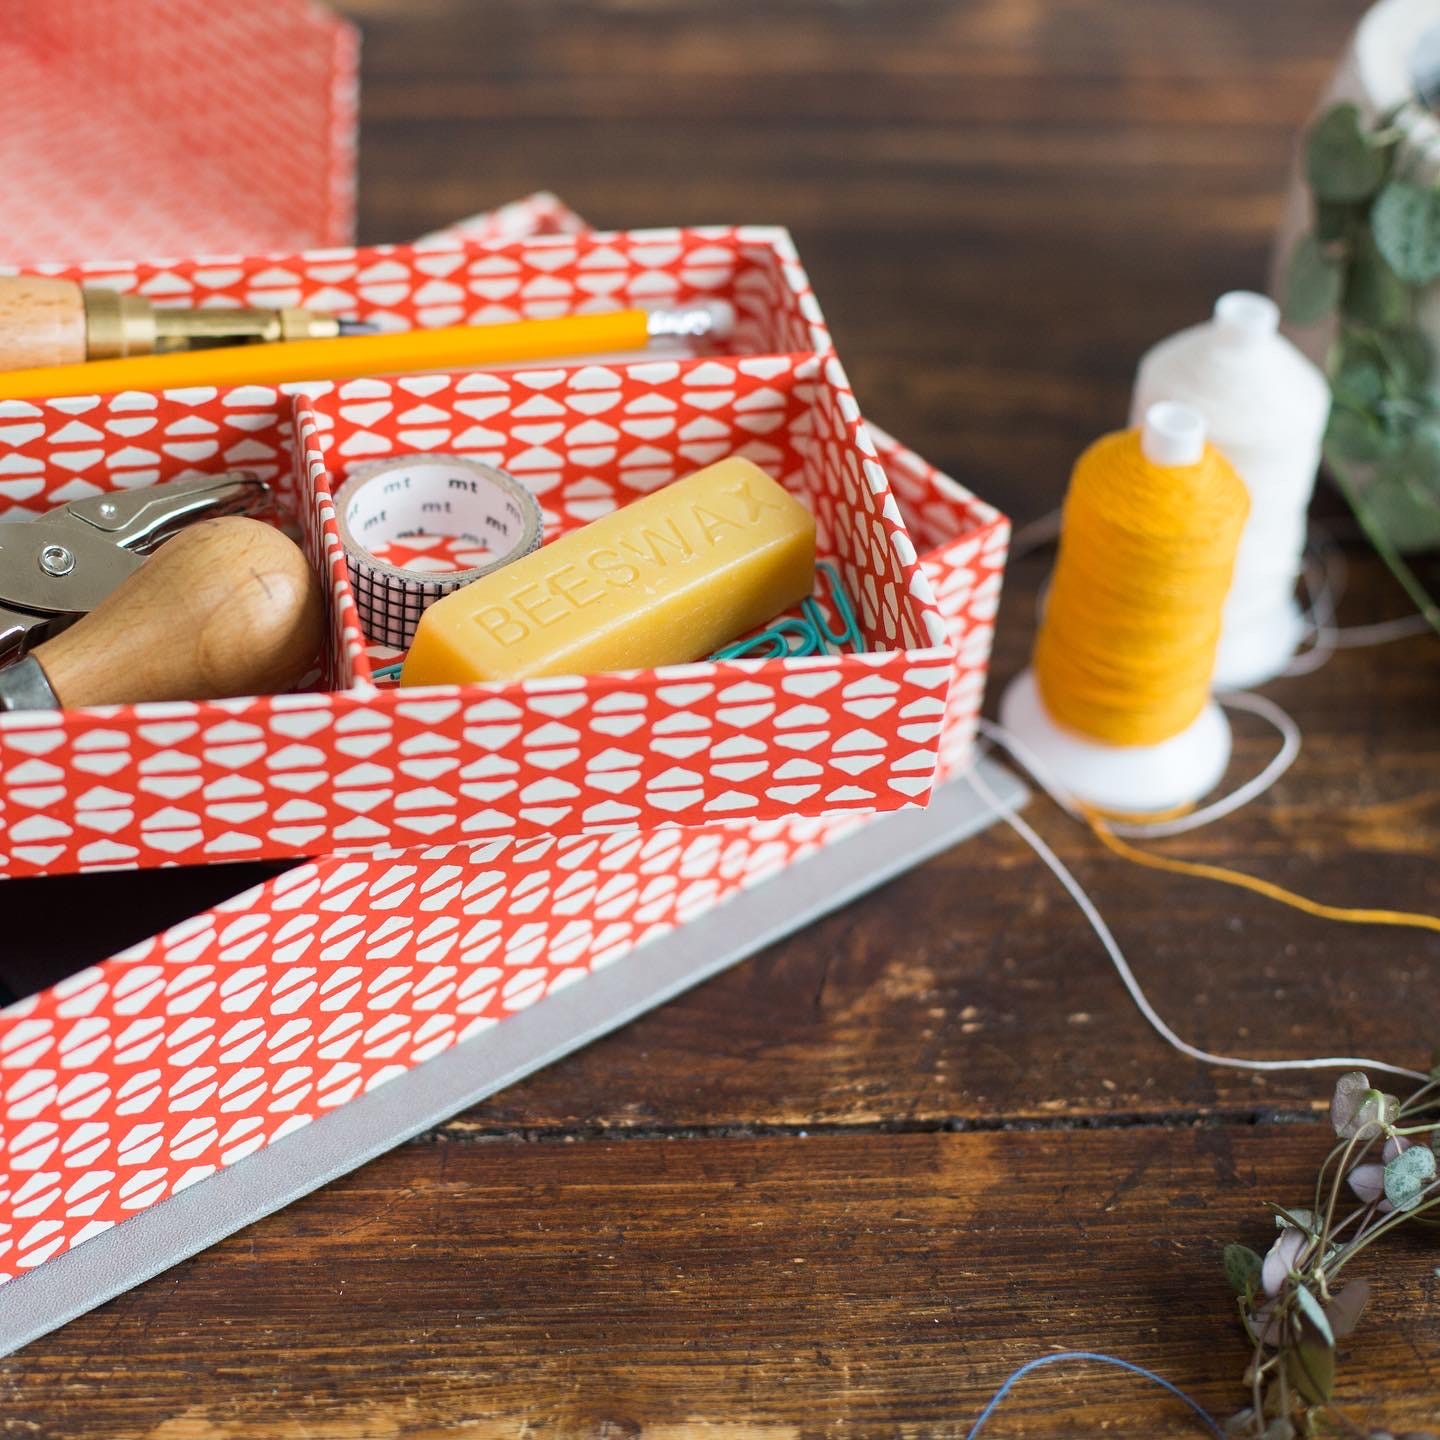
I’ve been delivering online bookbinding courses for 5 years now. As part of my offer, I have put together a starter bookbinding kit, which includes everything you need to make books at home.
The difference with my kits than those you might find on Amazon is that everything I supply, I use myself. I tried the Amazon kit 5 years ago and found some problems with it. For a start, the thread they use is not linen (it’s waxed polyester) and the awl handle fell apart. I source my tools from various different wholesalers, including UK based binderies. I wind all those threads by hand and I also make my own beeswax. it’s a labour of love and I really enjoy putting it together for you.

This post goes into the tools in more depth:
So, you want to start bookbinding?

Hello there! If you’ve come to my page, you’re probably interested in where to begin with making your own books? Or perhaps, you’re already making books, but want to learn something new?
Papers & Cloth
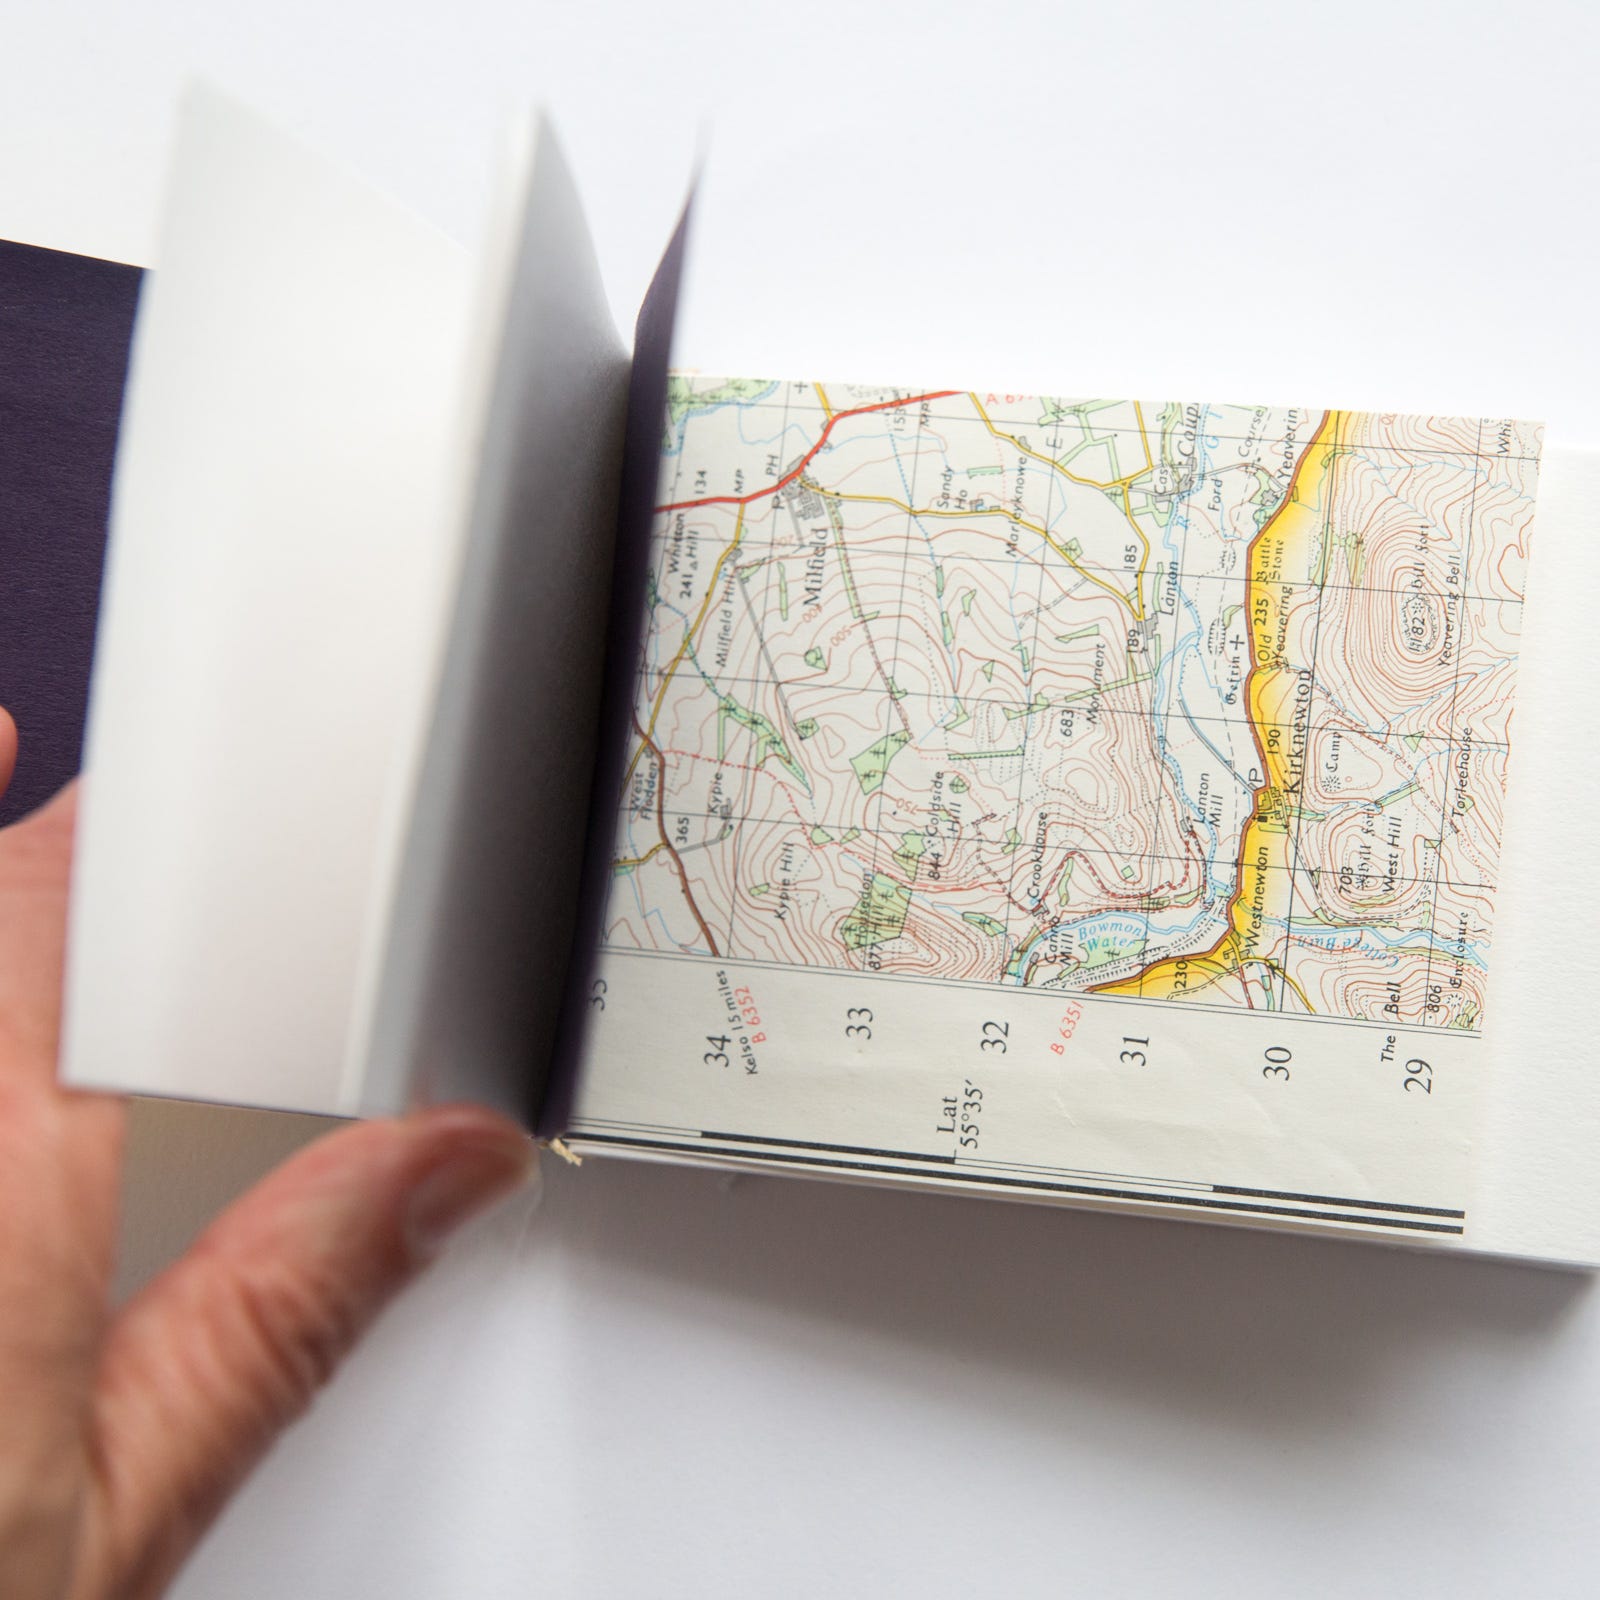
I recommend that you try making books with any type of paper. Collect this yourself at home. Put together an A4 box or a drawer dedicated to your paper stash, to keep it dry and flat. I’m a big fan of using recycled materials like envelopes and maps, so everything goes in my stash. Gift wrap, tissue you name it!
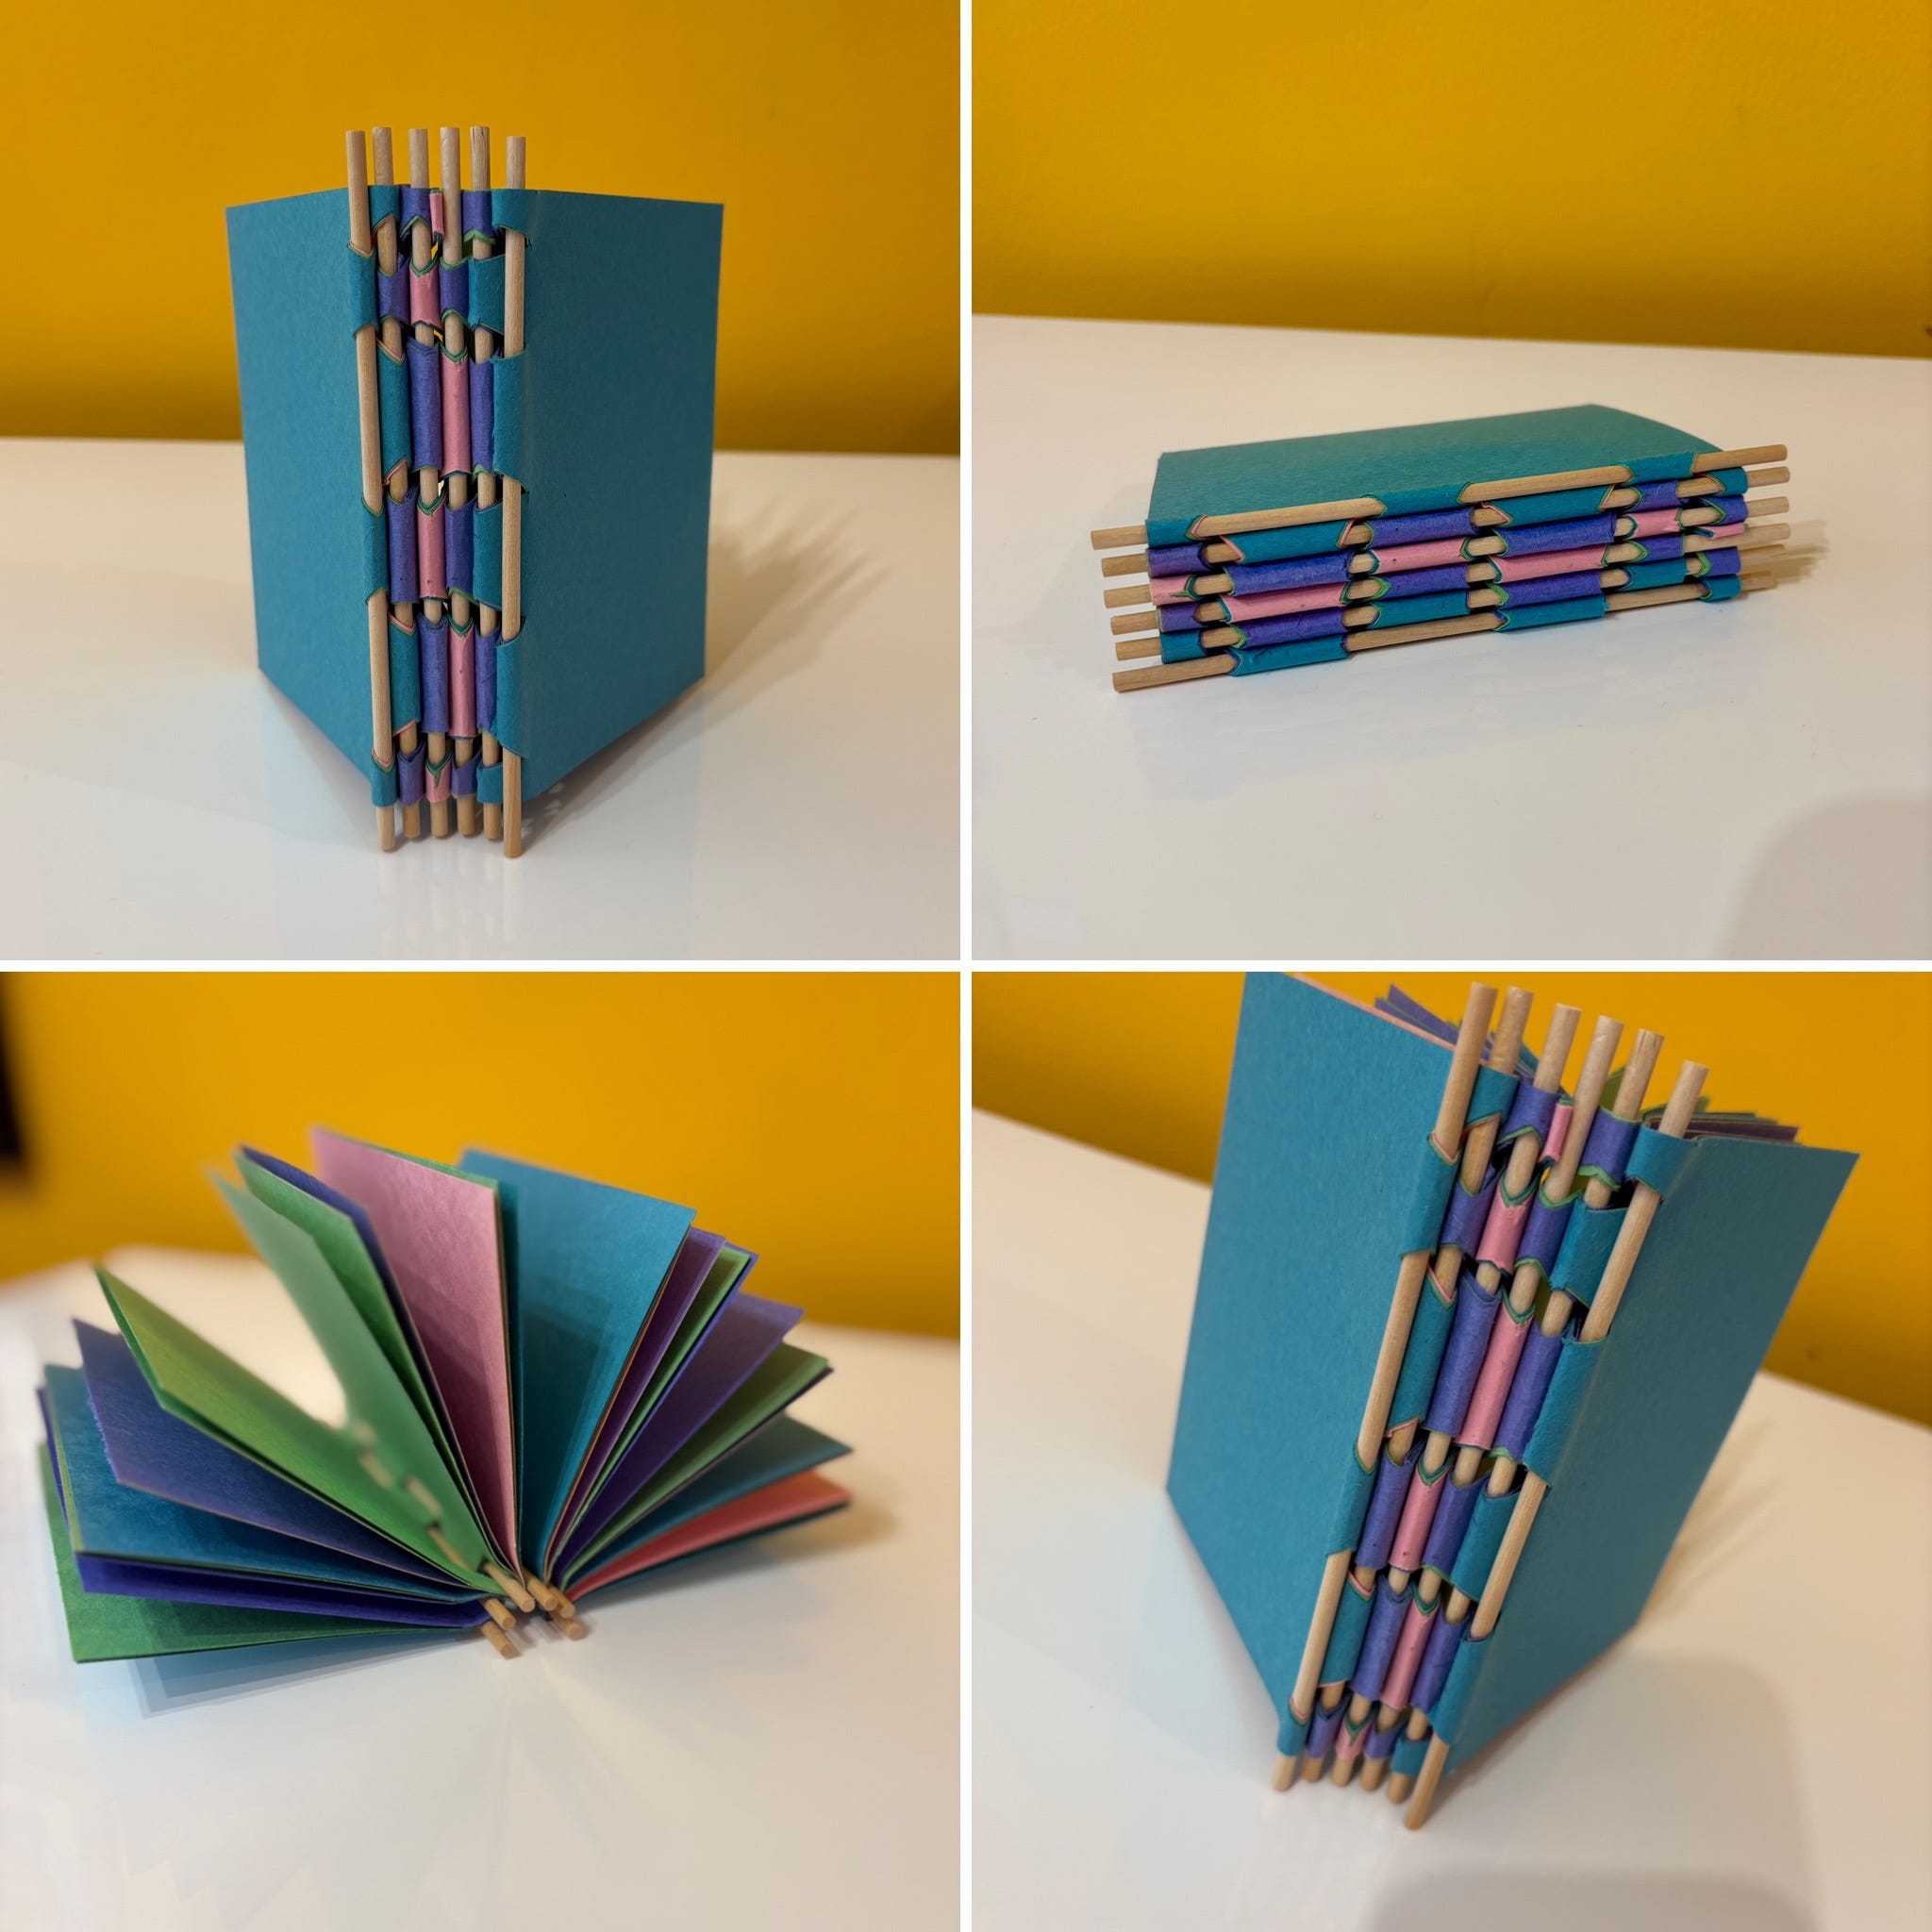
Recently, a student gifted me a stack of sugar paper (yes that paper you always used to get at school to mount your artwork). Well I completely fell in love with it all over again and I’ve loved using it in some recent book projects. Here’s a piano hinge book I used the paper for. My plan is to make some collages in it with offcuts.
Speaking of offcuts, keep everything. I make tiny books for my shop. Great stocking fillers and pocket money books.
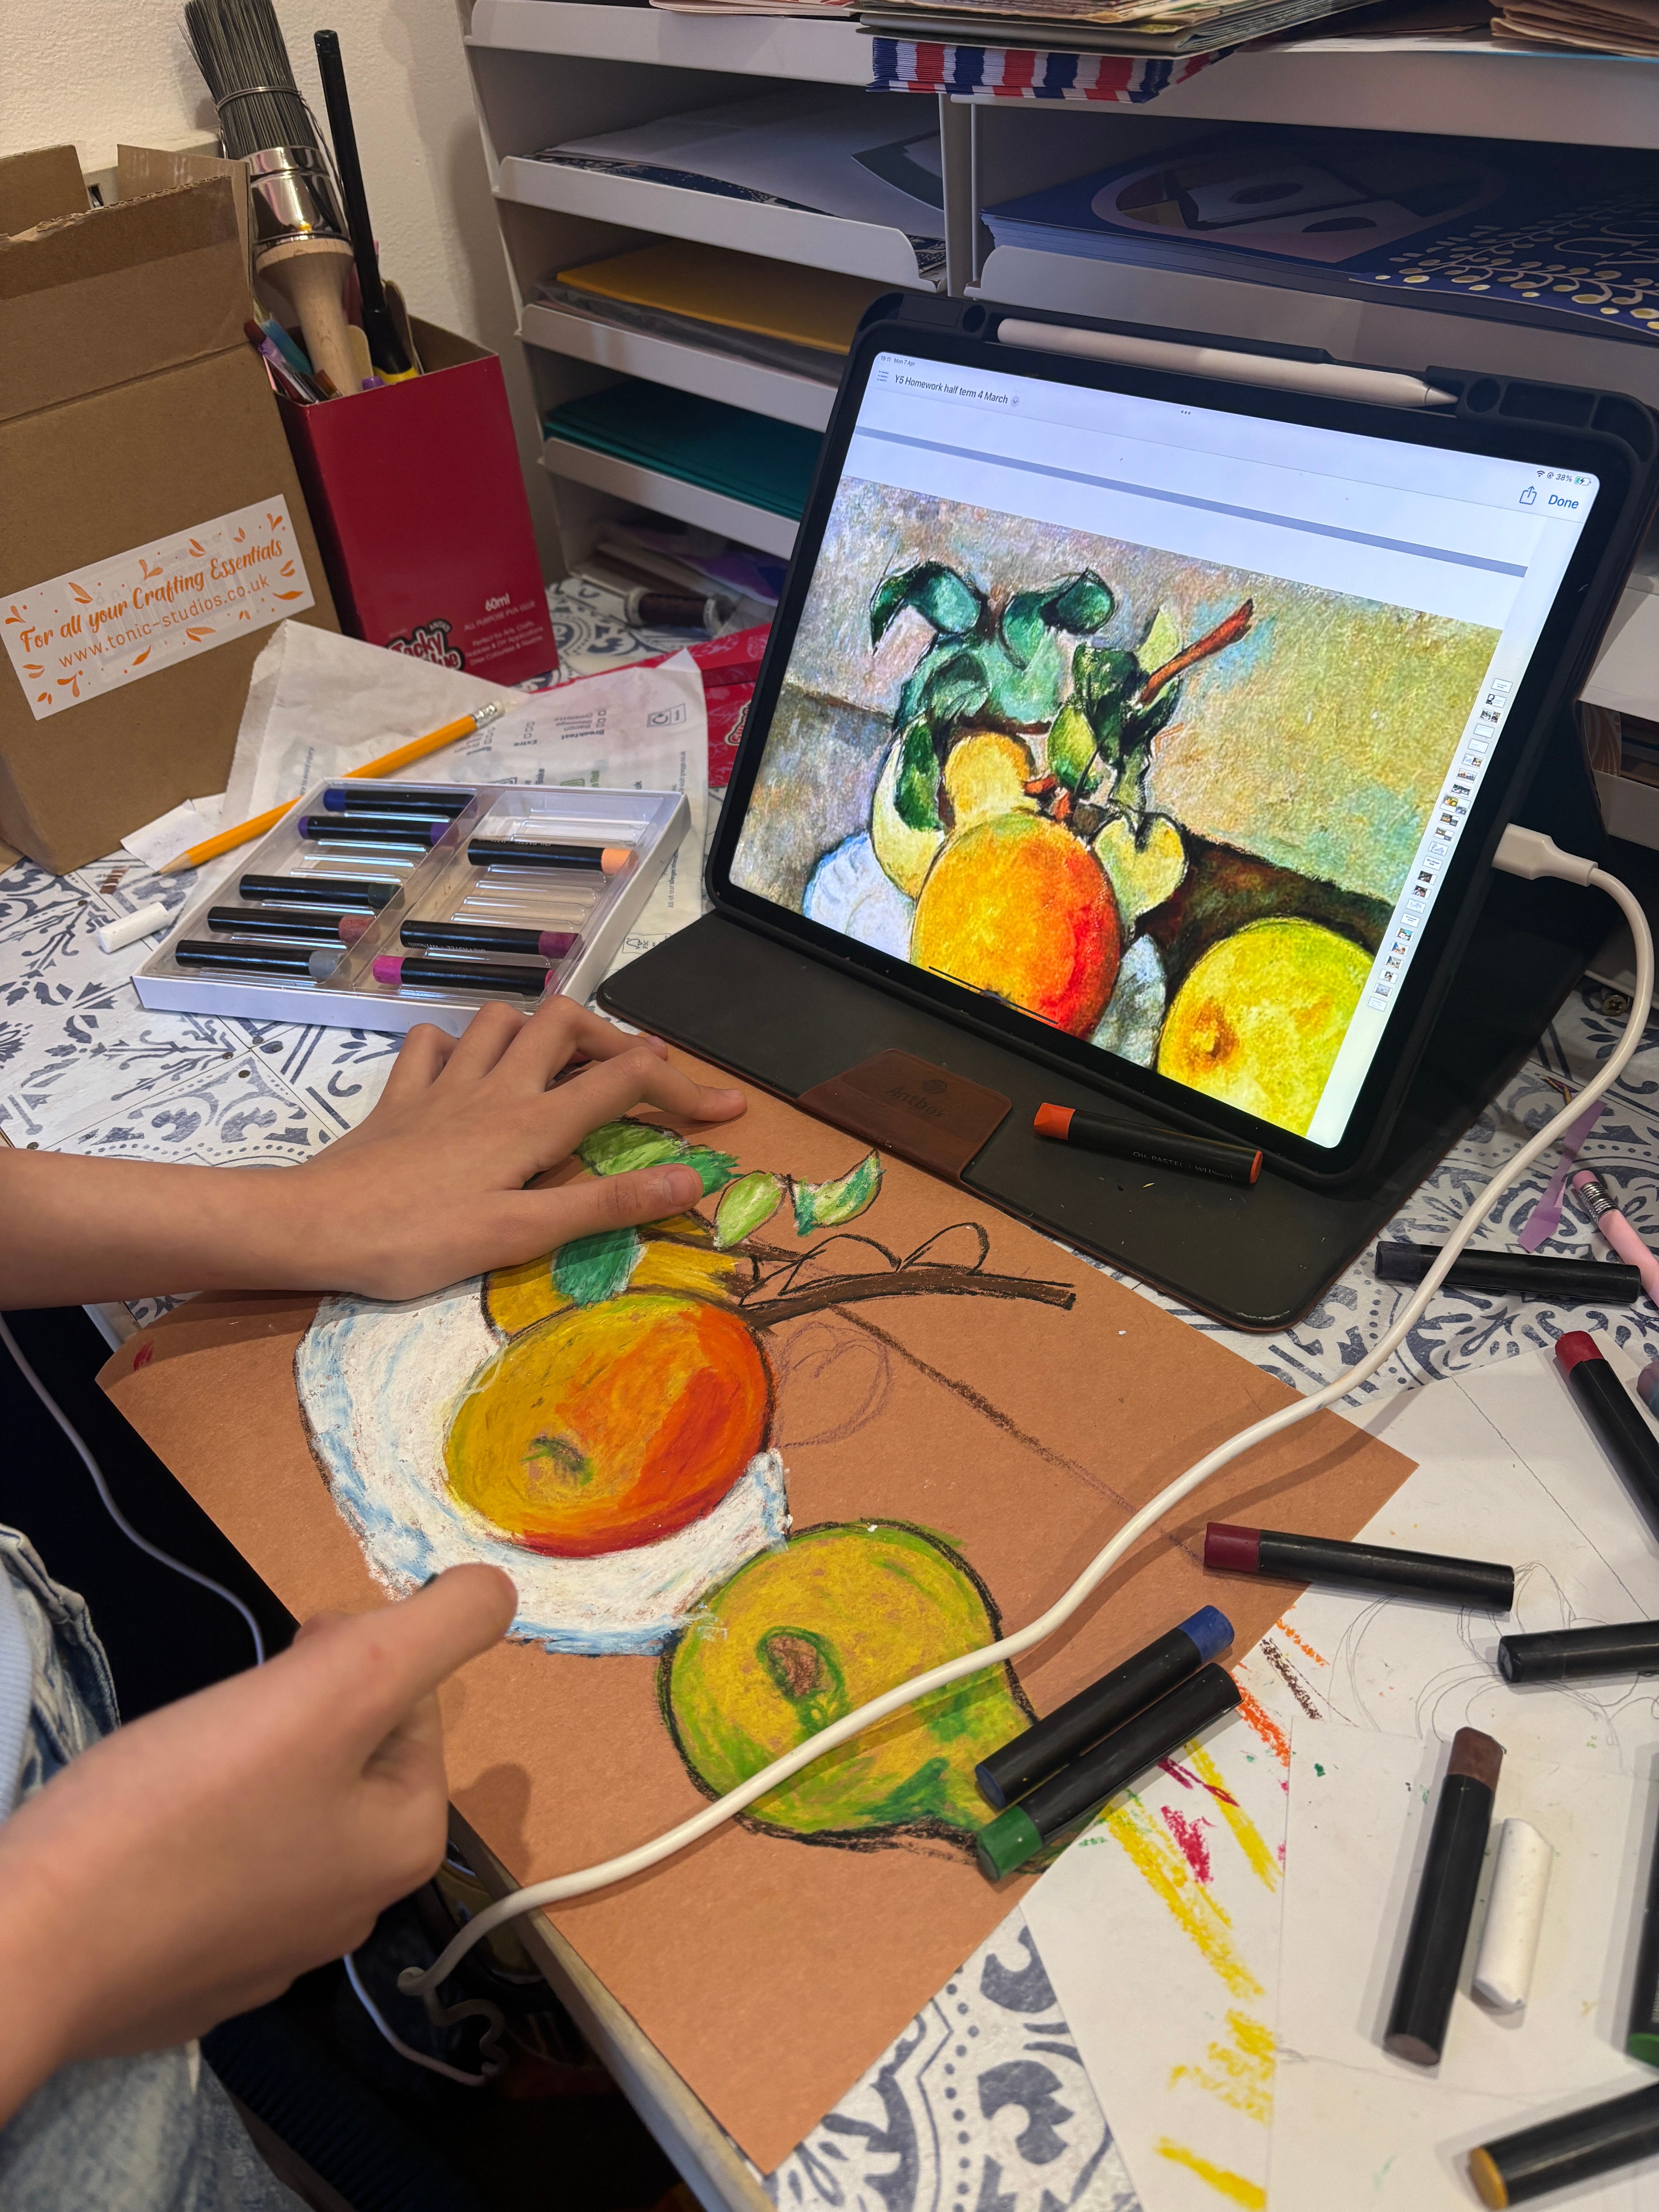
I also had a bit of a time trying to convince my nine year old daughter to get rid of her white paper and use sugar paper for her oil pastel home work. It’s such a better texture to hold the oils on. What do you think?
Of course I like the “good paper” too. I put both drawing paper and “book” paper in my paper and cloth packs. Book paper is a smooth 90gsm paper perfect for writing. I buy them wholesale and cut them down to fit into A4 kits. My starter pack includes enough to keep you going when you start to make books. I also really like Kraft card and brown paper to break up the white page when I make my books, alongside vintage maps and old book pages I find at the charity shop.
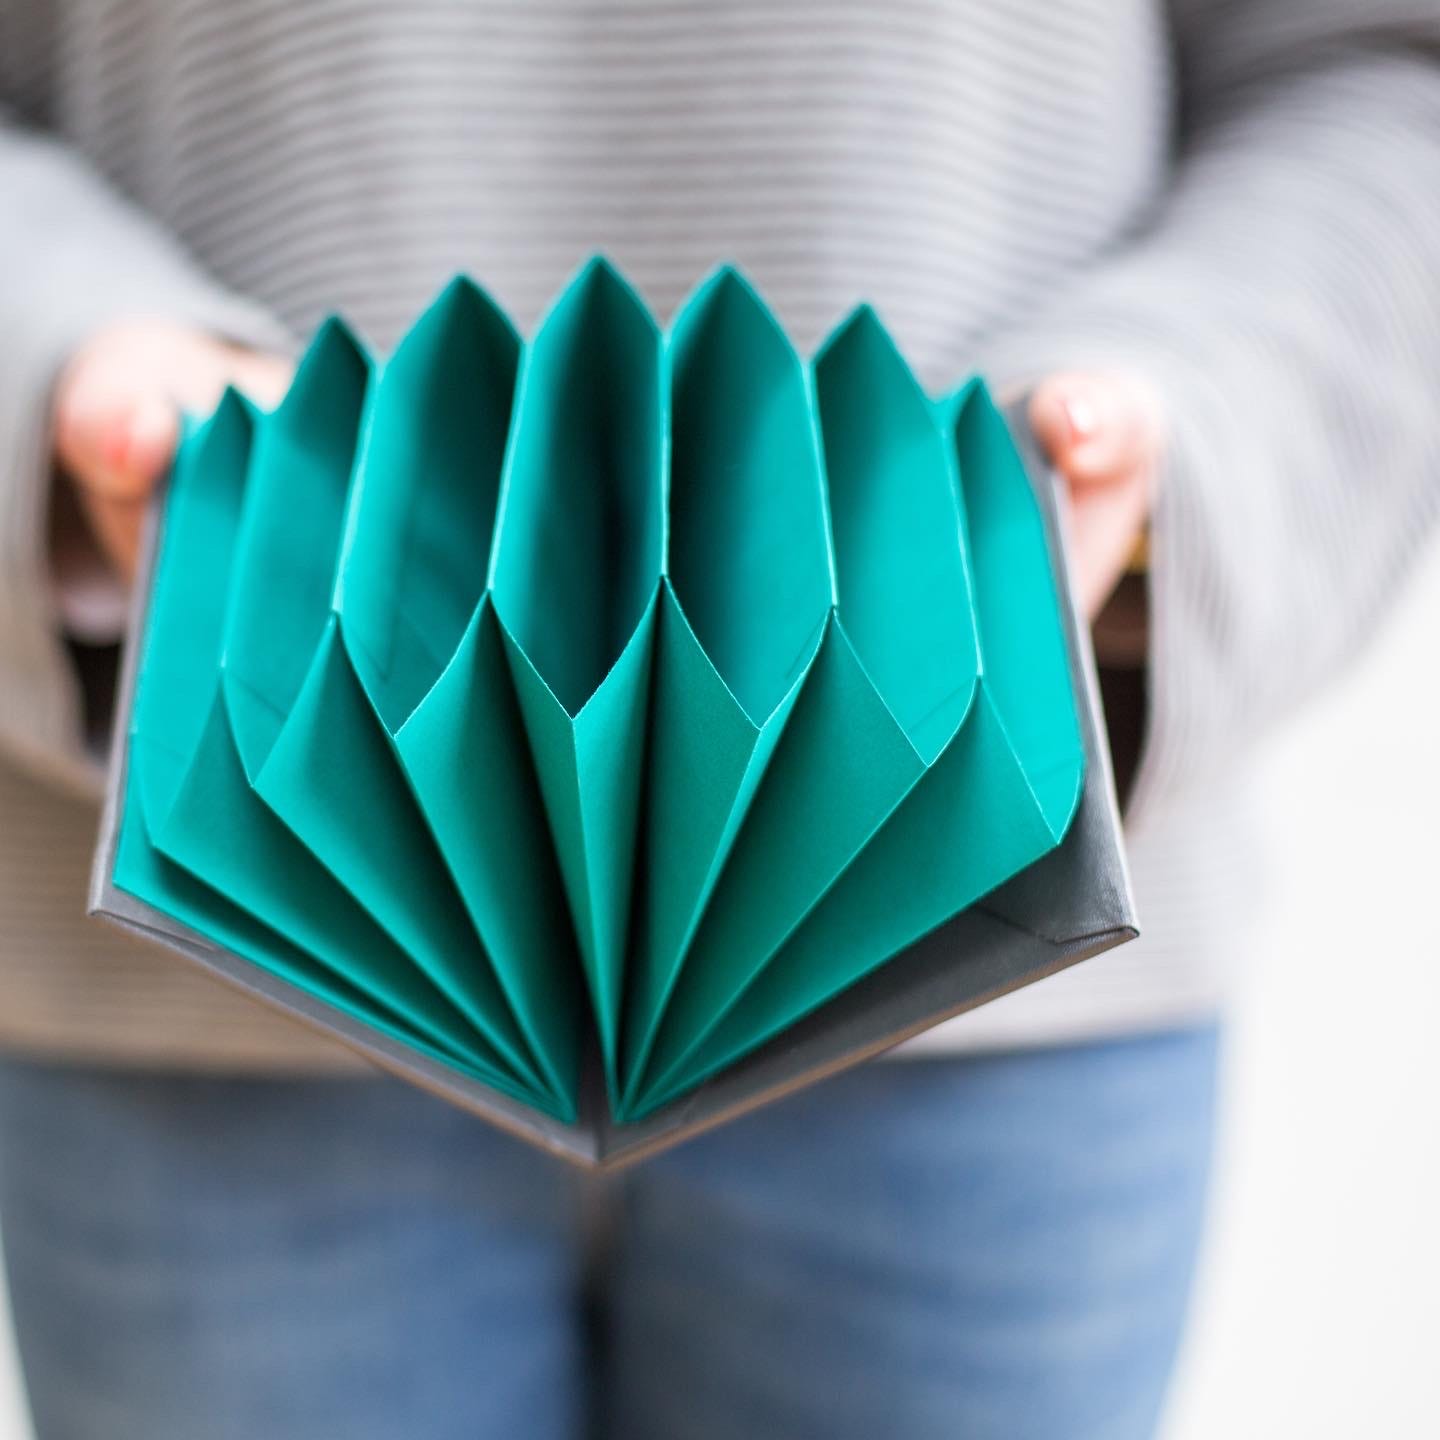
The other paper I use a lot is Colorplan - it’s favoured by designers because of the rich heavy colour that features in the paper. There’s no bleeding or patchiness which is what I look for when I’m making art collages and sculptural books. Here’s my Origami books kit, which uses Colorplan for the Ori Folder book. Once I made this book with this paper, I just couldn’t go back to anything else and I point blank refuse to put any other quality in the kits.
Book Cloth
I also make sure I have a good supply of book cloth. This is used for the covering of books. You can cover the whole book or just the spine and match it with papers, which looks lovely. Book cloth is a fabric backed with paper or if made industrially, it is coated with a glue so that the fibres don’t fray when you’re cutting it. You can buy linen, cotton and washable book cloth in all the colours you can imagine. If you’re interested in learning how to make your own book cloth, make sure you join the membership as I’ll be sharing a tutorial on how you can make it. I buy my bookcloth at the bindery, cut it down to A4 and these go in the kits. It’s unlikely you’ll be making books larger than A5 size when you start, so having a supply of A4 materials is all you need.
Folding Paper
The first type of book I like to teach a beginner is a no sew, folded book. This is why in the membership, we’ve started with Accordion Books. Folding paper helps you to learn about the material. Read more about the do’s and don’t of how you fold here:
Bookbinding Tips : Grain Direction

If you’ve ever attended a bookbinding workshop, you will have come across the term ‘grain direction’ before. It’s the holy grail of bookbinding and no bookbinder would ever ignore this mantra. If you haven’t, then here’s an introduction to Grain Direction and why you should never ignore it.
Once you master a folded book, you’re ready to move onto a stitched book. On the workshop, I taught an accordion book using 3 sheets of paper with a hardcover using book cloth and tied with ribbon. I did find that attaching the papers for some students was tricky this week. Just making sure each piece was hooked and glued into the next one, before reinforcing the folds. There is an easier soft cover version at the bottom of this post (paid members) if you’d like to try it:


Sewing Pages
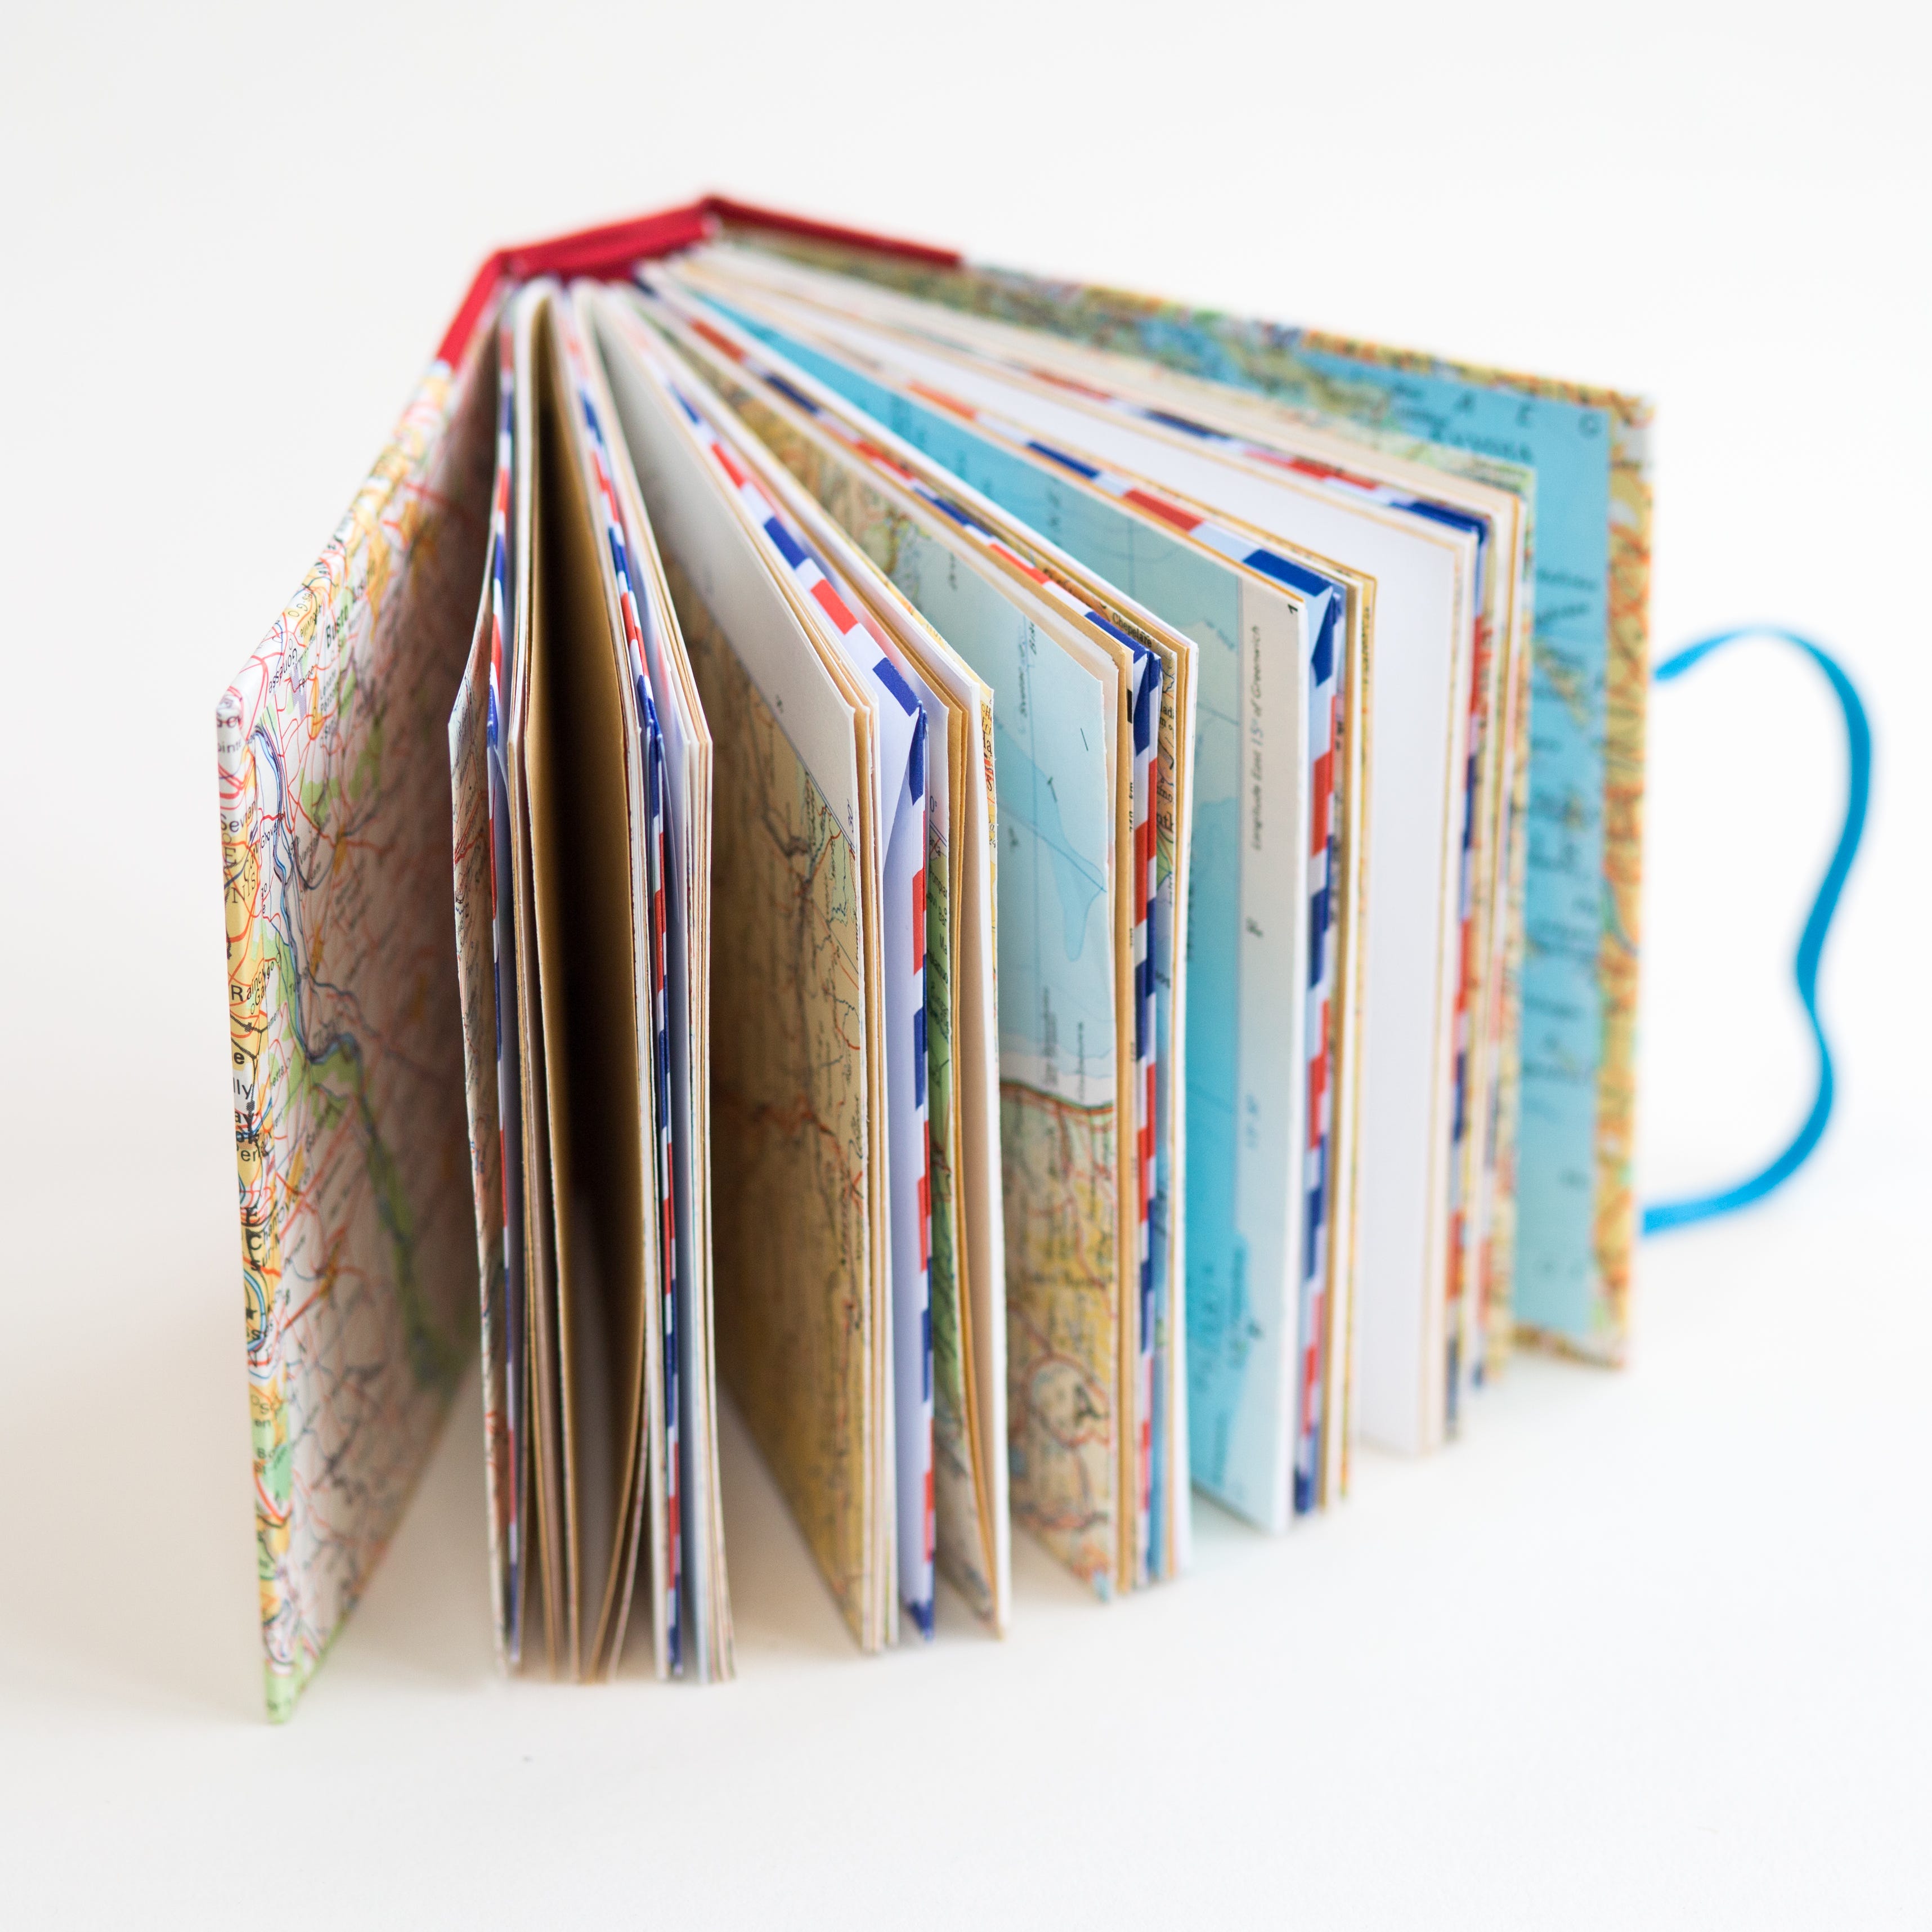
The final two books we made in the class was a stitched book, where I explained how to wax thread, pierce holes (using a handmade guide) and how to stitch a pamphlet book, before moving onto a more complicated buttonhole book. This book uses the blanket stitch to attach several folded booklets together. What’s lovely about this binding, is that the stitching is exposed and you can create fun cut outs in the cover to expose the pages. Well I had to bring out some maps I had from an old atlas didn’t I? We used a mix of drawing and writing paper for the rest of the book. I also had a lot of patterned card I brought along and this was the result.


Some links to get you started:
If you don’t want to join the membership at this time, but do maybe want to start one project, be sent a kit with all the instructions ready to go. Here are 3 beginner book projects for you to try. Please note I only ship to UK, US, Canada, Australia and New Zealand (sorry rest of the world). These projects don’t feature in the membership, except for the pamphlet book, which if you’re a paid member you can find here.
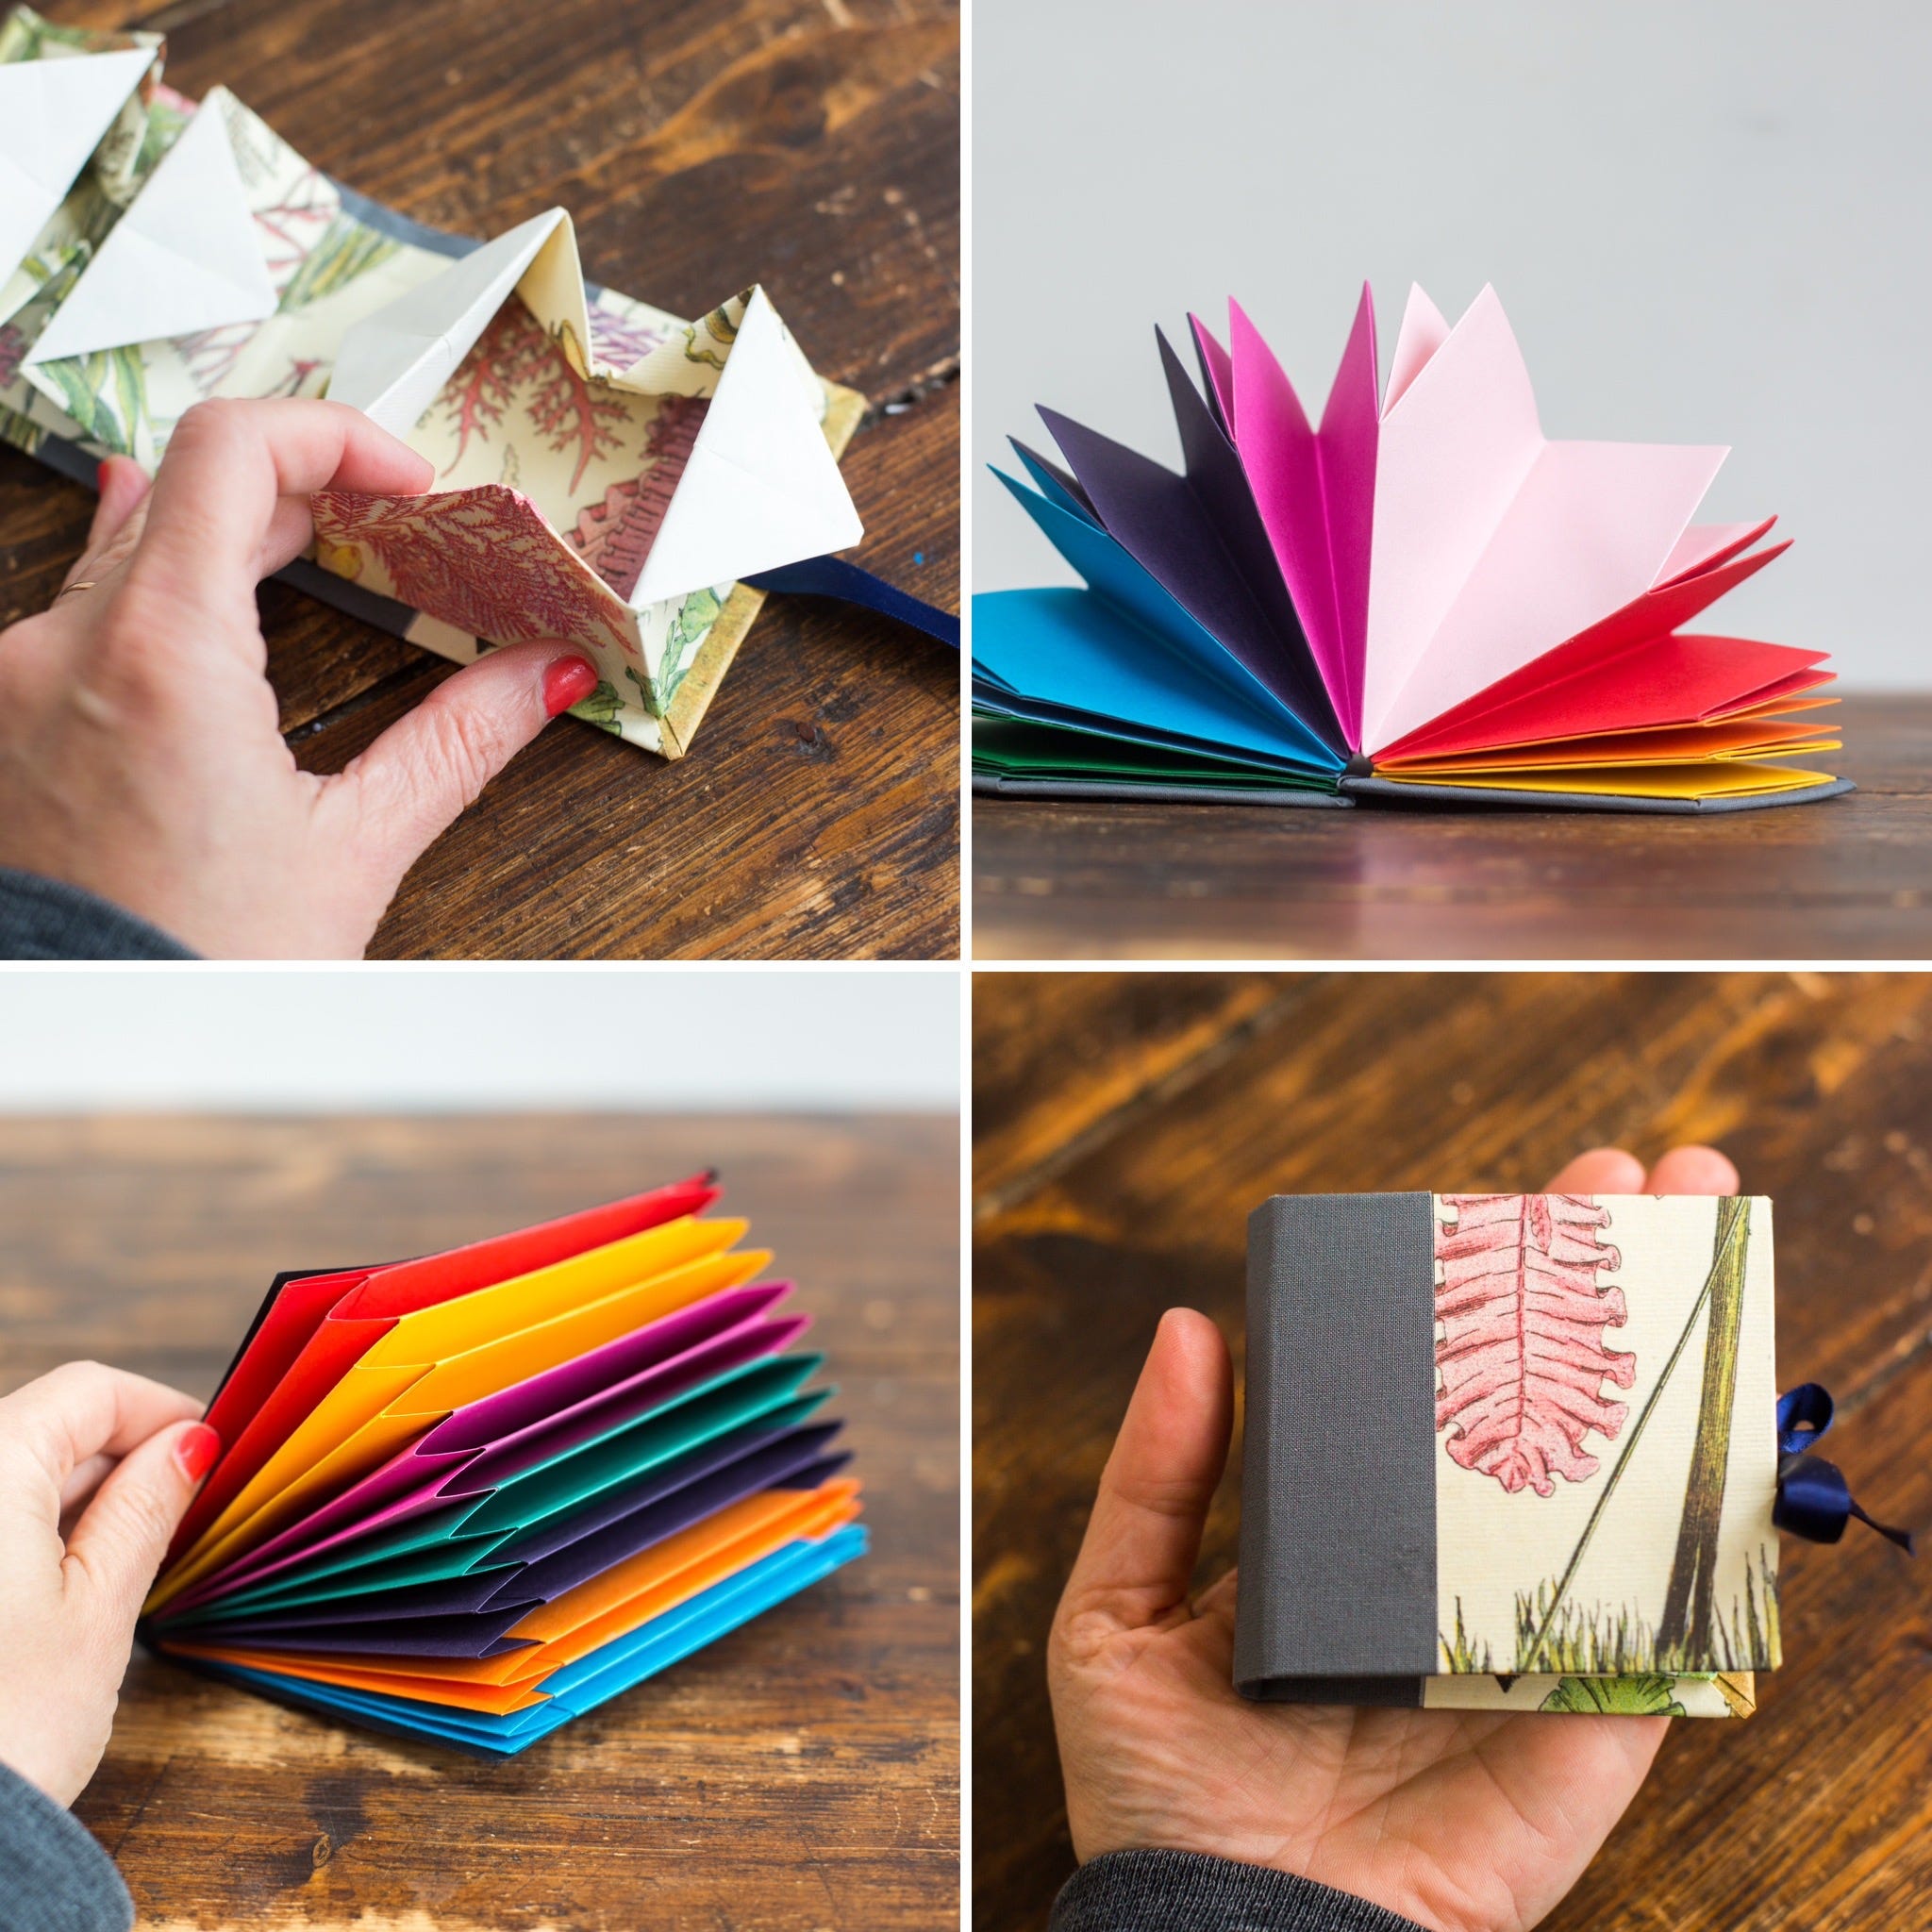
Three no sew books for those who are scared of sewing or are drawn to easy to make, sculptural books. This one is great for kids too (aged 9+)
Learn how to make a pamphlet book. Great for those who are ready to start sewing.

You’ve sewn a pamphlet book and are ready to make a book with more pages. Have you tried any of these already? Leave me a comment to let me know…
We have a rhyme, a loop rhyme, something like "once there was a king who asked to his maid "tell me a tale" and the maid begun...once there was a king who asked to his maid..and so on ad libitum. In a library I've seen an accordion book with this rhyme. Obviously the illustrations were wonderful and the great part of the book. But I'd like to realize something similar.
Thanks for this over View Yvette. I've been meaning to ask about the origami paper - I really enjoyed using it too - and lovely colour. Now I know what to look for. Really looking forward to the next part of the membership. I wasn't going to make the according book as I have been making them but using a different technique. But I was fed and knew I needed to make something. So I followed your method and shape - was really pleased with the outcome and felt much better. I also began to think about what I could do with this book - not the usual shape for writing in. But I certainly see it for writing poetry (not that I do) or as a greetings card - which I'm thinking about at the moment (I think about things for a long time ha ha|)