
So, you want to start bookbinding?
What tools and paper do I need to begin? This post will share all the information you need to get started.


Hello there! If you’ve come to my page, you’re probably interested in where to begin with making your own books? Or perhaps, you’re already making books, but want to learn something new?
This article explains what tools you need, what paper to use and what specialist items you might need, and what you can substitute for at home. It’s the first of a new set of resources I’m writing so you can find everything in the same place. (link to follow).
This article is free, but if you’d like to subscribe to the paid tier, it’s a membership with bookbinding tutorials bi-monthly, and book challenges in the months in between, along with interesting facts about where books came from.
Okay let’s get into it.
First of all. If you want to make a book for the first time? Just make one, don’t worry about the tools and the right paper. Sometimes not having the right equipment stops us being our whole creative self.
However, you will find, as you practice making more books, to protect your hands and your materials, you need to get a few tools which will make life so much easier!
Here’s a set of tools you will want to get a hold of, which are all available in my starter bookbinding kit. Paid subscribers, scroll to the bottom of this article, to get a discount code.
Awl - this tool is a sharp needle like tool to pierce signatures (folded pages that make up a book). It has either a wooden or plastic handle and is essential for piercing accurate holes.
Bonefolder - this tool is used to fold pages. If you’re making a large book, you are folding a lot of paper and it will hurt your hands if you do it without one. It’s also really useful when it comes to the glueing of hardcovers. Traditionally these tools were made of the leg of a goat or cow (hence the name) but over time, the bone tends to mark the paper. Now bonefolders are made of Teflon.
Craft knife. You need to get yourself a sharp craft knife. Personally I prefer one with a big handle and use a Stanley knife from the DIY store where I can change the blade. You should also be changing your blade often. If your knife sounds like it’s dragging, it’s time to change it. I put the larger retractable style in my kits where you can snap off the blade. It’s really good.
Linen Thread is what’s used in bookbinding. It’s harder get hold of in your local haberdashery, but I include 3 colours in my kits. Someone asked me recently if they could use embroidery floss, you can. But it won’t last with the constant opening and closing of your book. The fibres will slowly wear down and snap.
Beeswax (or soya wax if you don’t want to use animal products). Linen thread is coarse and has a lot of twists in it. To prevent getting tangled when you’re sewing, bookbinders wax their thread (I’ll show you how in a future video). I make my own beeswax in my studio and this is what goes into the kits.
PVA glue is used in glueing your covers. Don’t worry about getting bookbinders glue. Just get glue from your local supermarket. Later on, I’ll explain the difference between the type at the bindery. I have small bottles available on my website, but it would be better if you bought yourself a bigger bottle to keep at home.
A metal ruler
A Pencil
Binder clips -used to hold pages together in certain types of sewing
Bookbinding Needles are different to regular sewing needles. The eye of a bookbinders needle isn’t bigger than the rest of the needle, it’s the same size. This prevents you from making holes bigger. My kit includes these along with curved needles which is used for larger book blocks like Coptic stitch.
Cutting mat (not included in my starter kit) - try and get an A3 size or bigger.
Thread cutters - optional - you can use normal scissors, I just like using these when I’m sewing.
A glue brush. Invest in a nice brush where bristles don’t fall off. It will affect your covers if you have bristles in your glue. So annoying!

All of the above (apart from metal ruler and cutting mat) are included in my starter bookbinding kit. If you’ve joined the membership and need some of these tools just head to my website. You can also buy most items individually. You don’t need to buy these items from me, but you would be supporting my small business if you do, and I’m so appreciative to you for that.
Papers, Board & Cloth
I’ve also put together a kit of A4 paper, cloth and board to get you started in bookbinding.
Here’s what’s included:
25 sheets of Fabriano Academia paper (120gsm) this paper is a great sketching paper and will hold some mixed media like acrylics and gouache
4 sheets of endpapers. Used for the front and back when casing in a book
4 sheets of 2mm greyboard used for making covers
10 sheets of Coloured paper (various weight)
4 sheets of book cloth (various colours) - used to cover your book spines
1 sheet of mull (used to cover your spines and strengthen your books)
15 sheets of origami papers - for origami bookbinding.
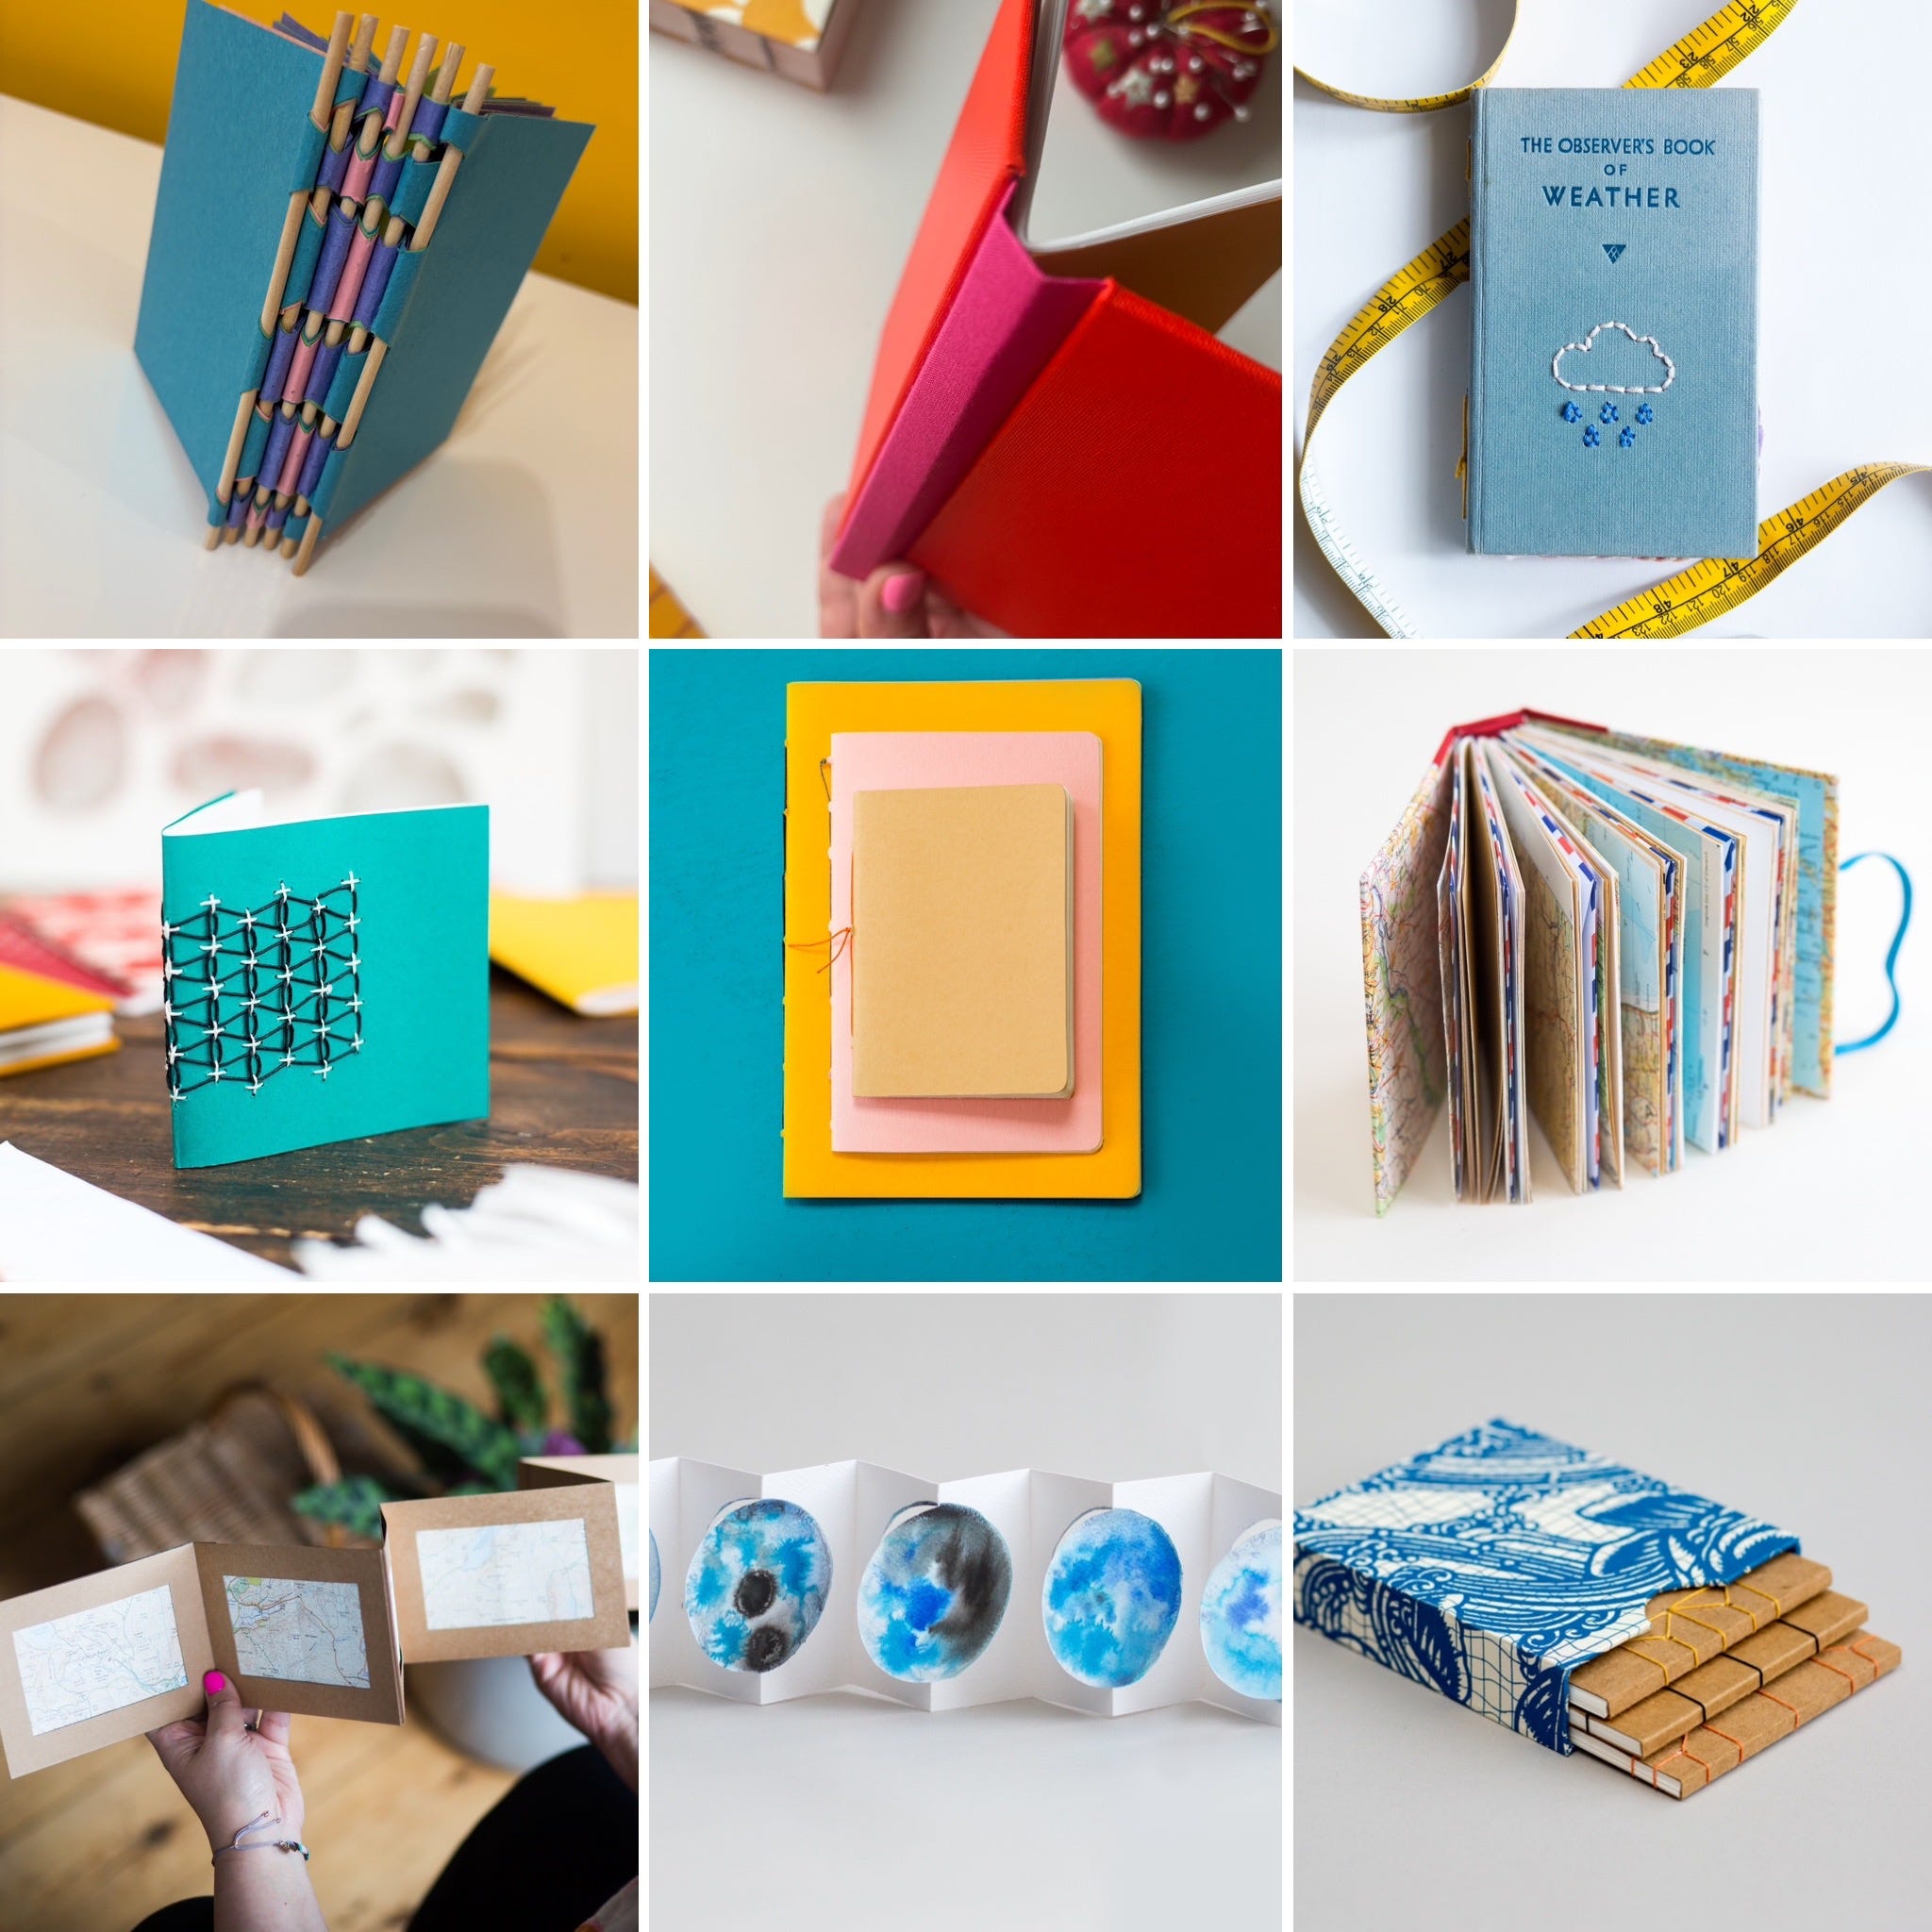
.This is enough to get you started in making your own books. Alongside this, it’s a great idea to start collecting your own papers to use. Old maps, newspapers, old envelopes and used wrapping paper are great to use in your books too.
The new bookbinding membership will guide you through making books, exploring structures from around the world. Every second month, we’ll explore a culture, learn a book structure and the heritage of the structure. Each month that follows, I’ll share a prompt you can adopt to fill your books with artwork, sculpture and drawing.
If you’re already in the membership use the code below for a discount off any of the kits I’ve talked about in this article.
Ask me anything in the comments!
Yvette
Code: BookCultures
This is definitely a rabbit hole I want to wander down! I loved making books as a kid. Excited to explore💛
So pretty! My crafting fingers are tingling!