Hey Bookbinders!
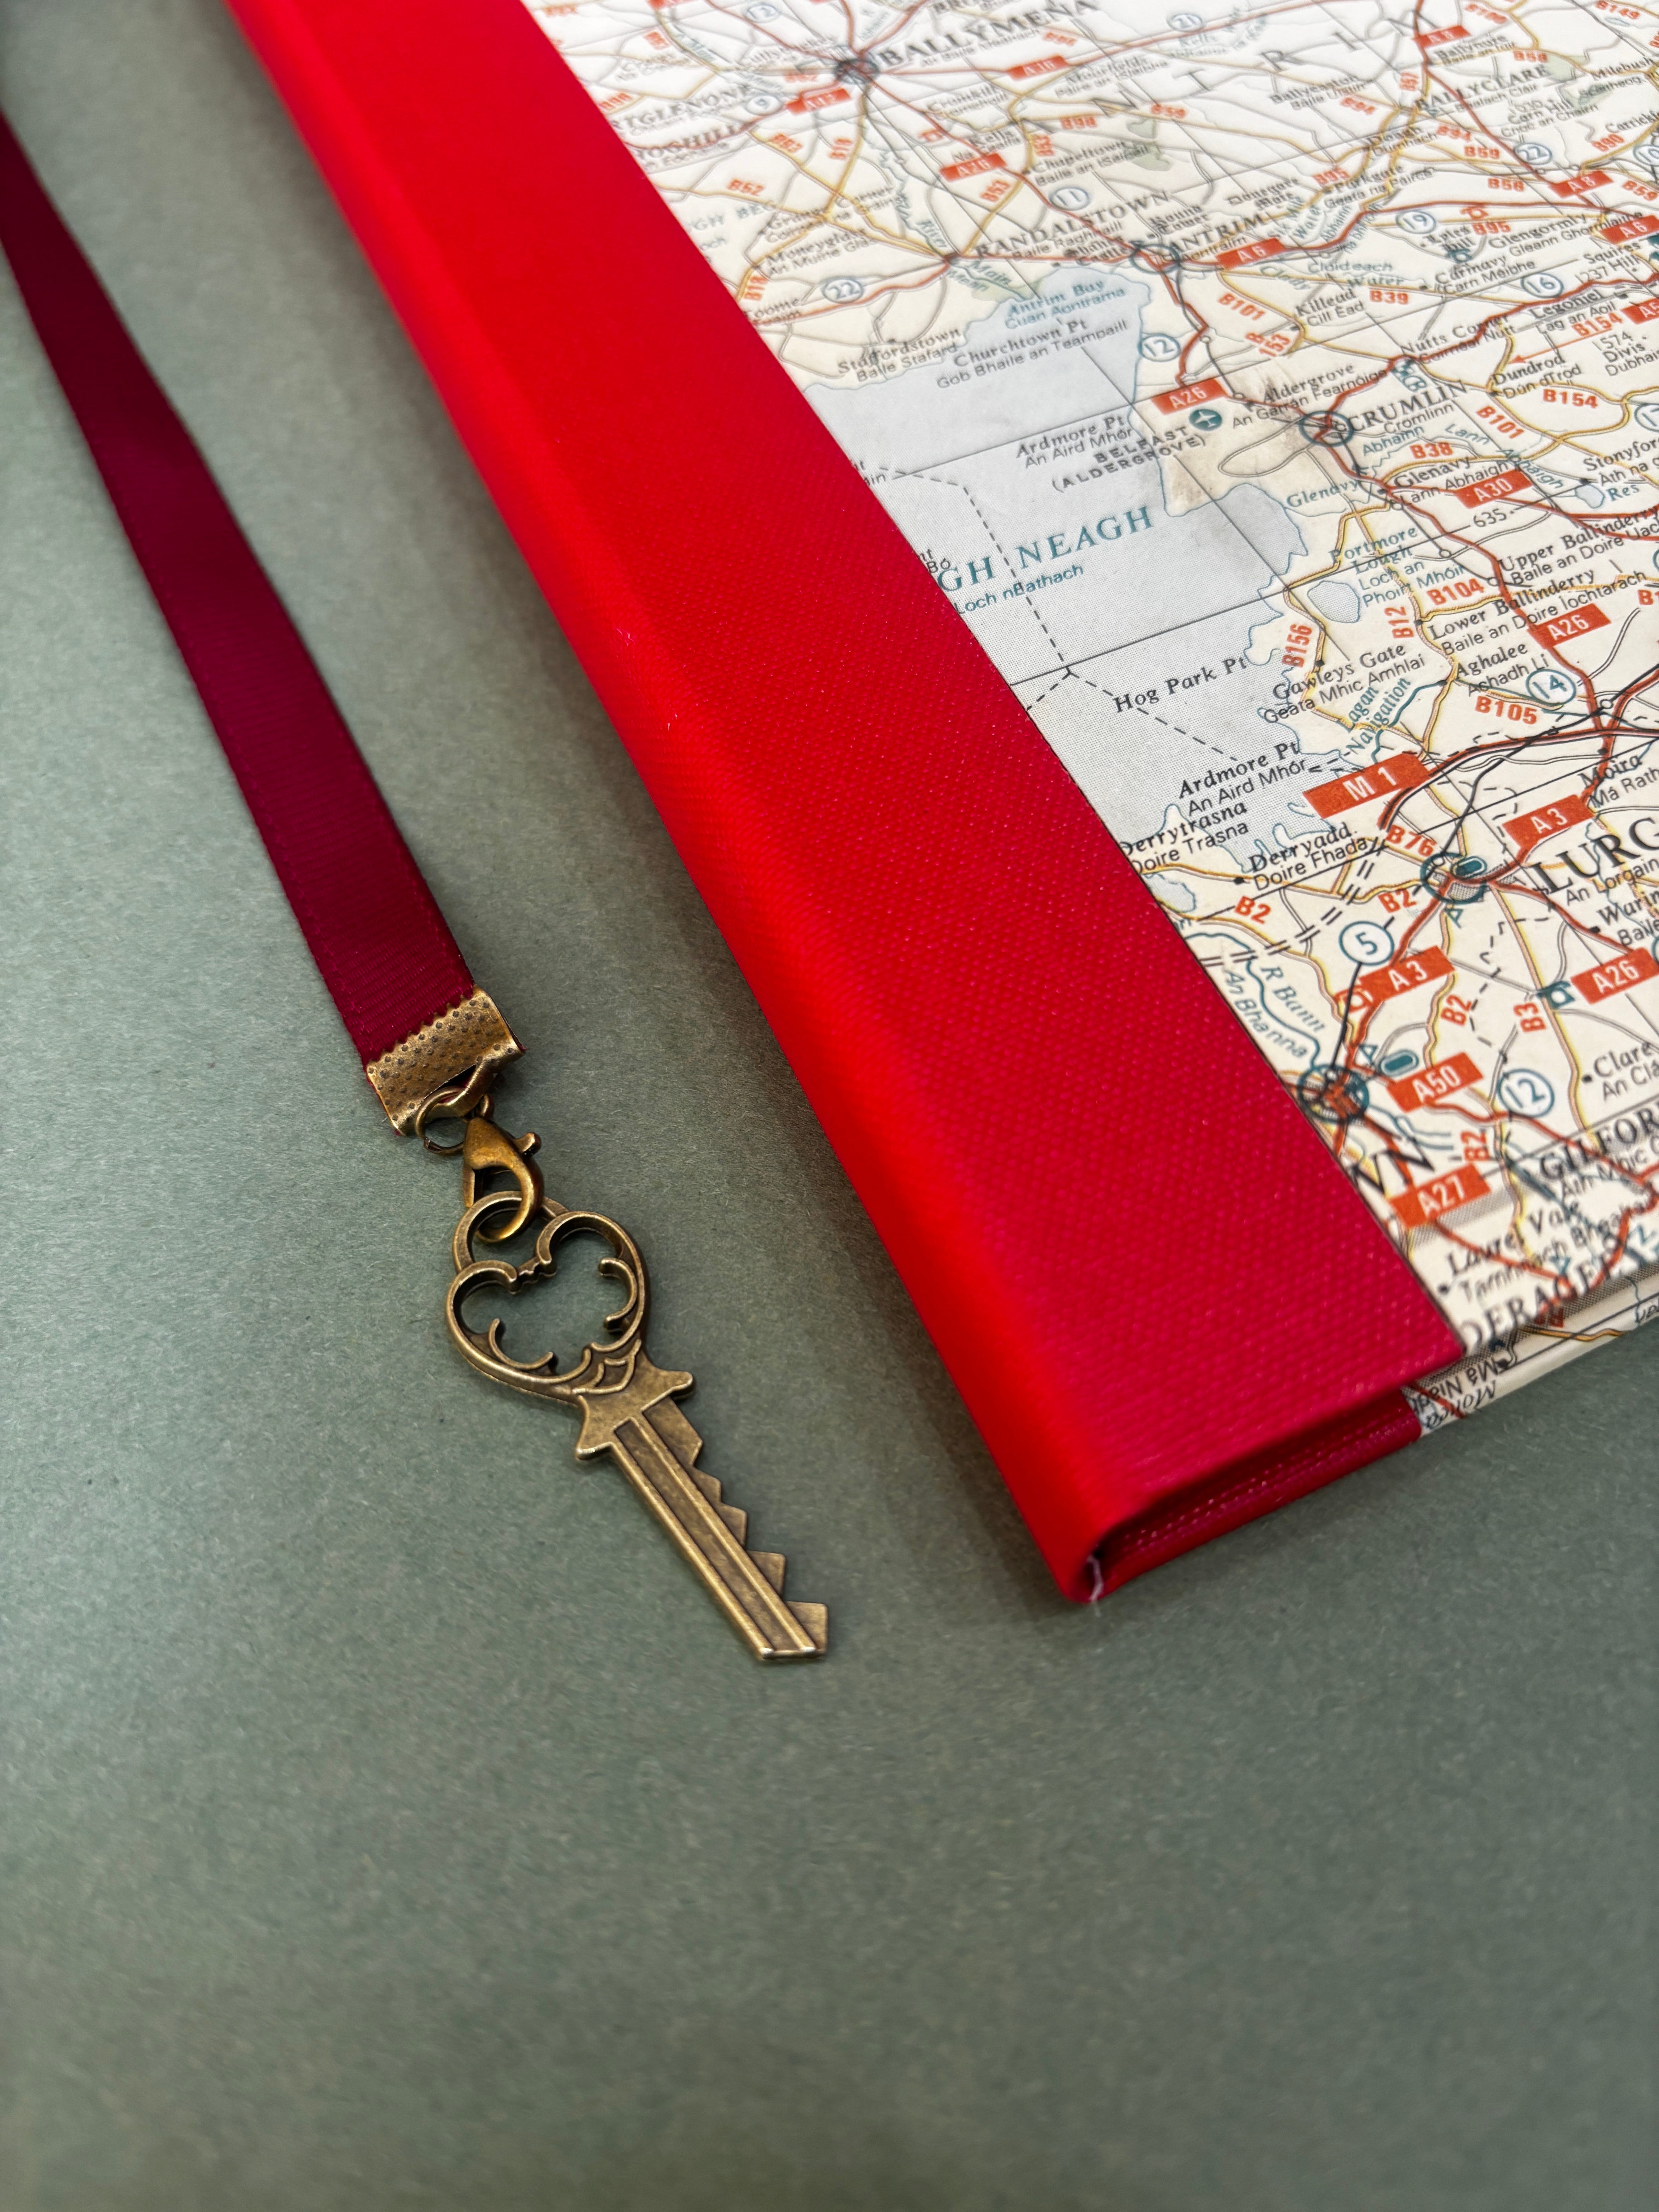
It’s the last week of the school term in the UK, which is always a hectic time, but I’m so pleased to share with you a tutorial to add something extra to your books. It’s a two part tutorial. Today, I’ll share what materials I used to make a ribbon bookmark and how to construct it.
The second tutorial (coming next week) will show you how I add the bookmark to a cased in, Coptic bound book.
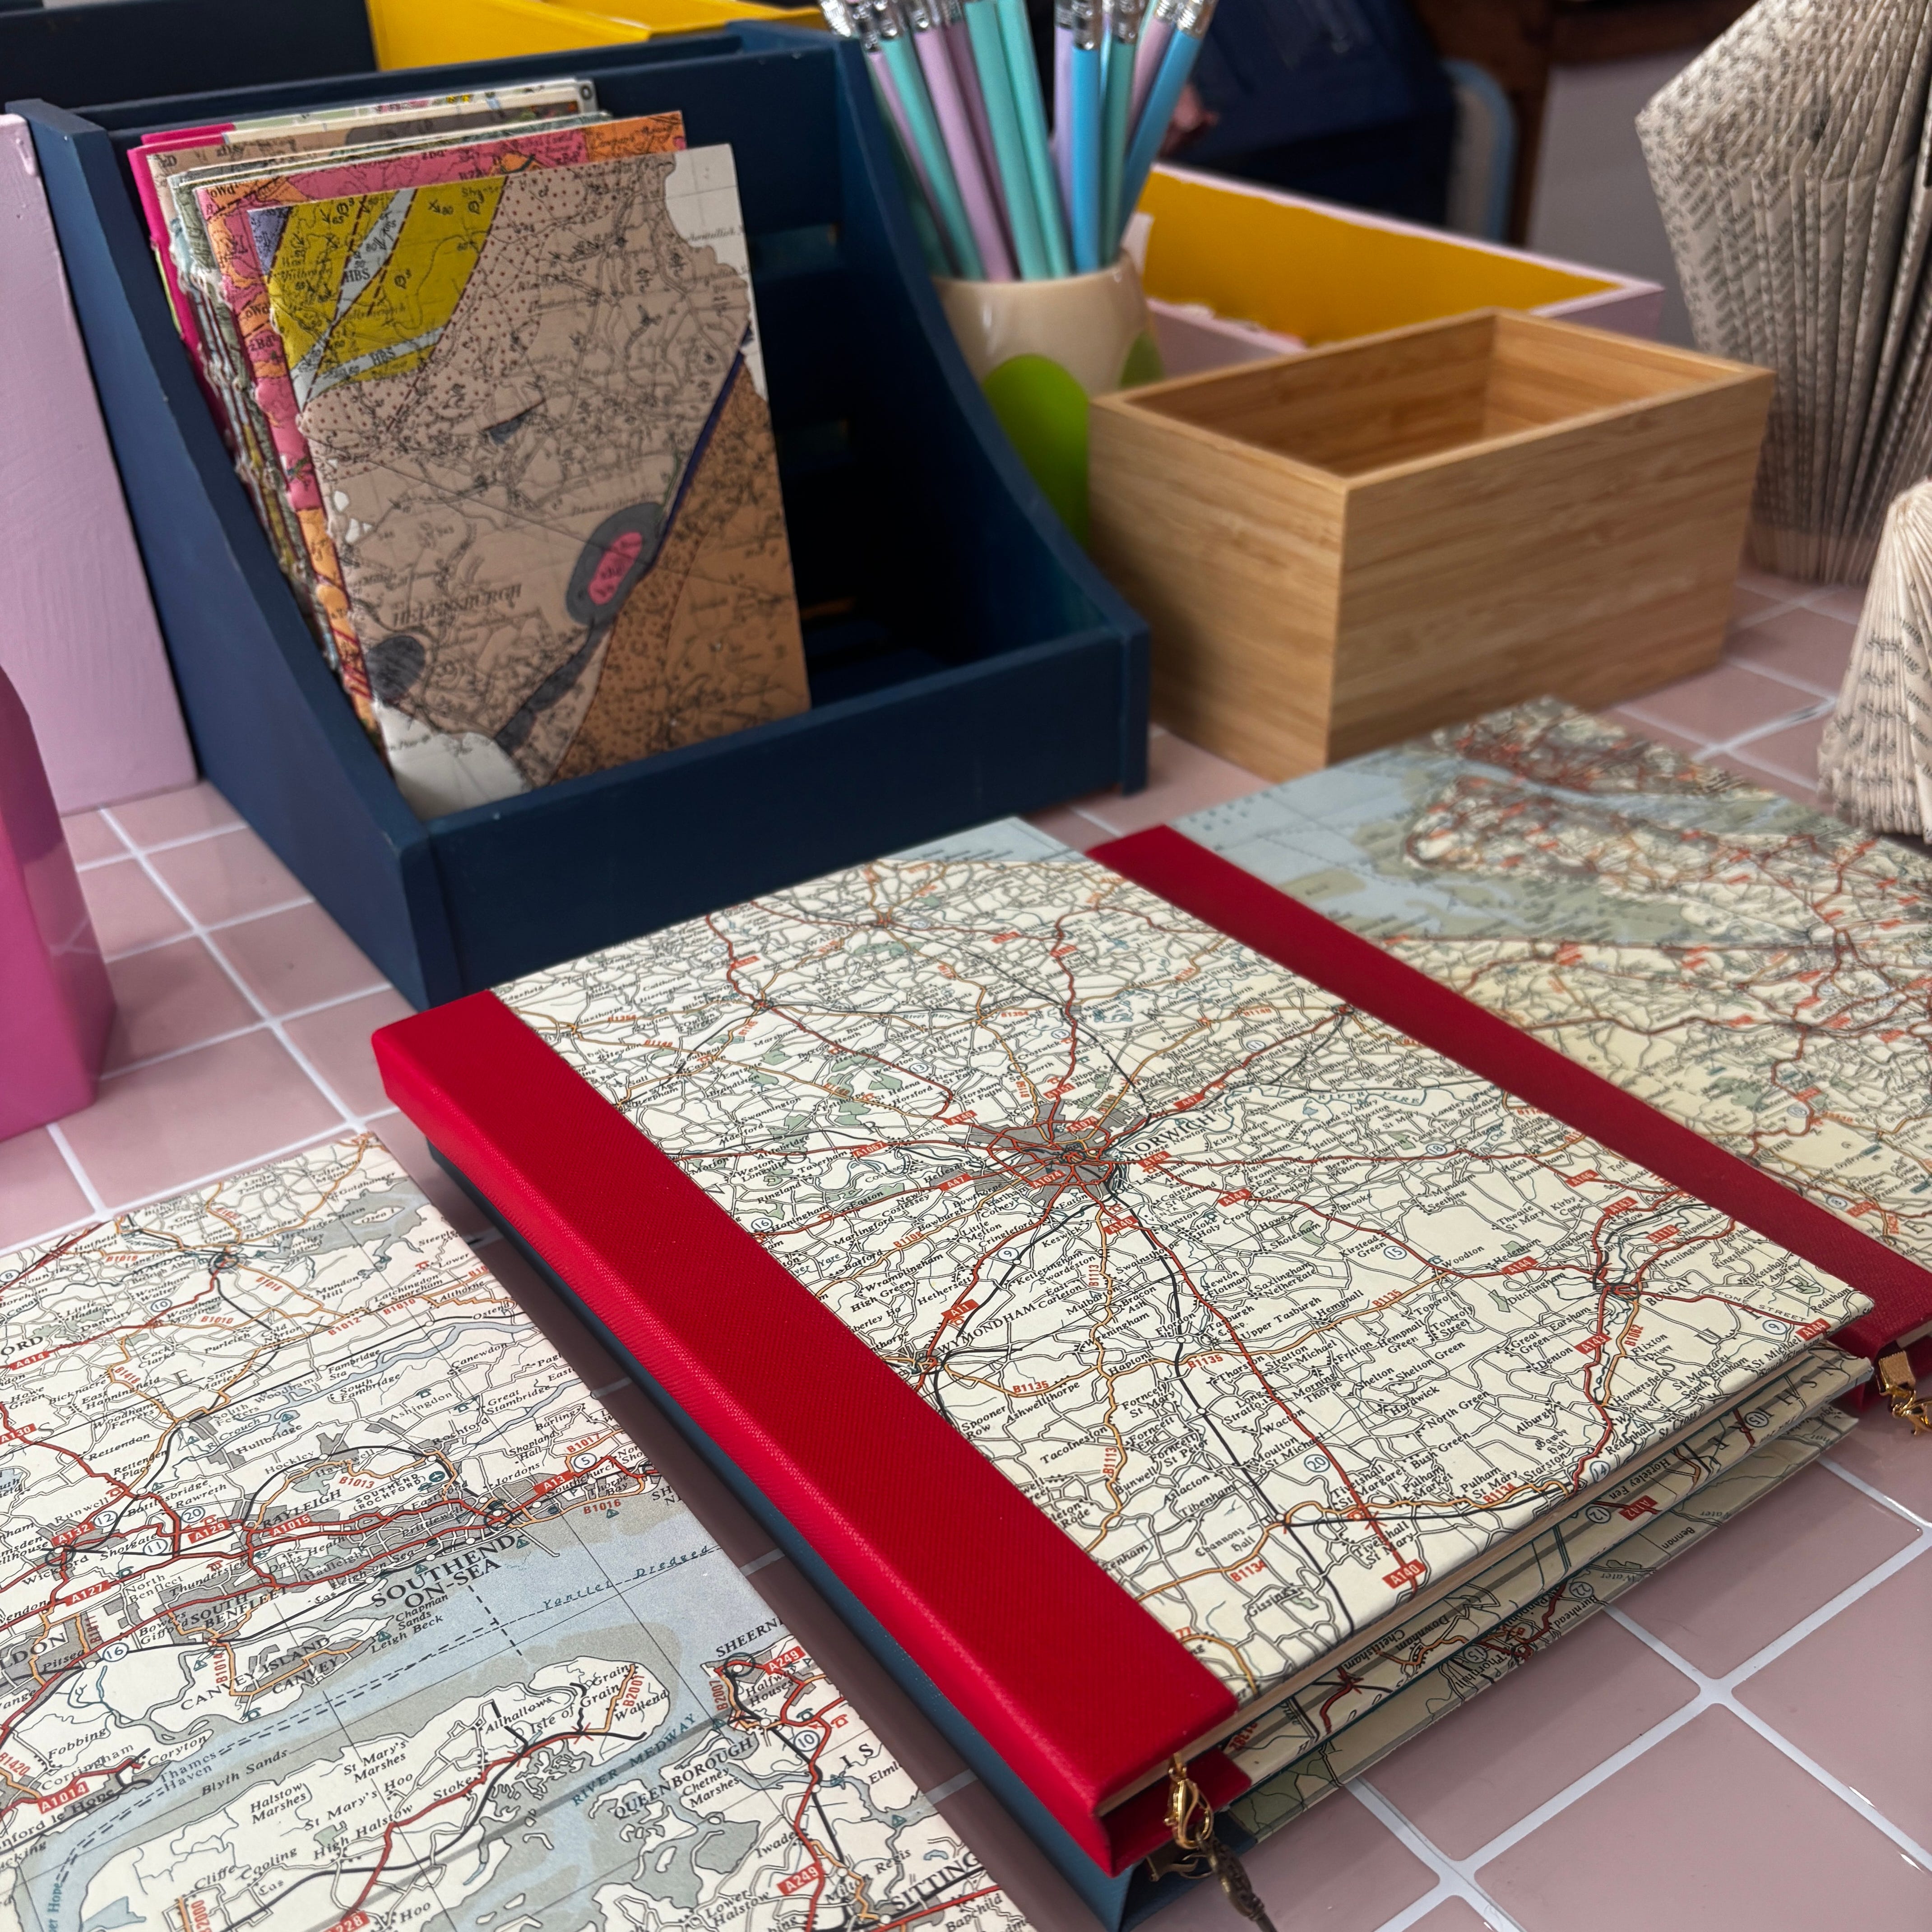
If you’ve been following me for a while, you’ll know that I’m an avid map collector and it’s been my mission to make notebooks for my bricks and mortar shop Hanji, using all my offcuts of maps. I added the charms to my latest batch of A5 notebooks and they are selling well, it’s always exciting when someone buys something that you made by hand.
I’m moving
Next month, I’m so excited to share that I’m moving shop to a bigger space in Hexham. It’s big enough to hold in person workshops again. So if you want to join me in person to make books (and other stuff) together, sign up to the mailing list here. I’ll be releasing the first batch of workshops later this month.
Book Charm Tutorial
Here’s what you’ll need to create your own bookmark charm:
2 x small pliers
Scissors
I’ve been obsessed with book charms for a while, now that I can make my own - every book may need to have one. What a perfect way to personalise your books. Take a look at the tutorial to see my process and make your own.
If you’re new to my Substack, we learn bookbinding from around the world. The free subscription shares what I do as a creative. If you want access to all the tutorials, you can upgrade to the paid tier. All the tutorials are listed here. It’s the best bookbinding club on the internet.